AWS - Integrating PIM with Azure AD SSO for AWS IAM Identity Center

I've been working in AWS a fair bit lately (Defender for Cloud posts coming soon) and thought it would be fun to set up SSO from Azure AD. But I also wanted to see if there was a way I could integrate Privileged Identity Management into it for just in time access, approval workflow, better auditing, and access reviews. Turns out we can do this a couple of ways, and this could work for many apps! :)
If you don't have AWS but would like to play with it, AWS has a very generous free tier that you could sign up for and follow along. I will also be writing a blog later about the free tier and expected costs because putting in your personal credit card is a lot scarier than putting in your employers :p
For this solution, we will need Azure AD Premium P2 licensing for the users that will activate PIM, at least one security group that has PIM for Groups enabled (previously known as Privileged Access Groups), and an AWS account to integrate with an Enterprise application.
AWS Configuration
There are two different methods that we can use to connect to our AWS account. We can use AWS Single-Account Access using the normal IAM, which should use a one to one mapping for an Azure app to AWS account, or we can use the newer IAM Identity Center (used to be AWS Single-Sign On) which provides more flexibility for managing multiple accounts and identities.
This guide will focus on integrating with IAM Identity Center since it is free, will likely be more useful to others, and supports some other features (like SCIM) that I'd like to play with. I will also be publishing a blog for Single-Account Access soon that has some awesome RegexReplace() for SAML claims that I think is really cool :)
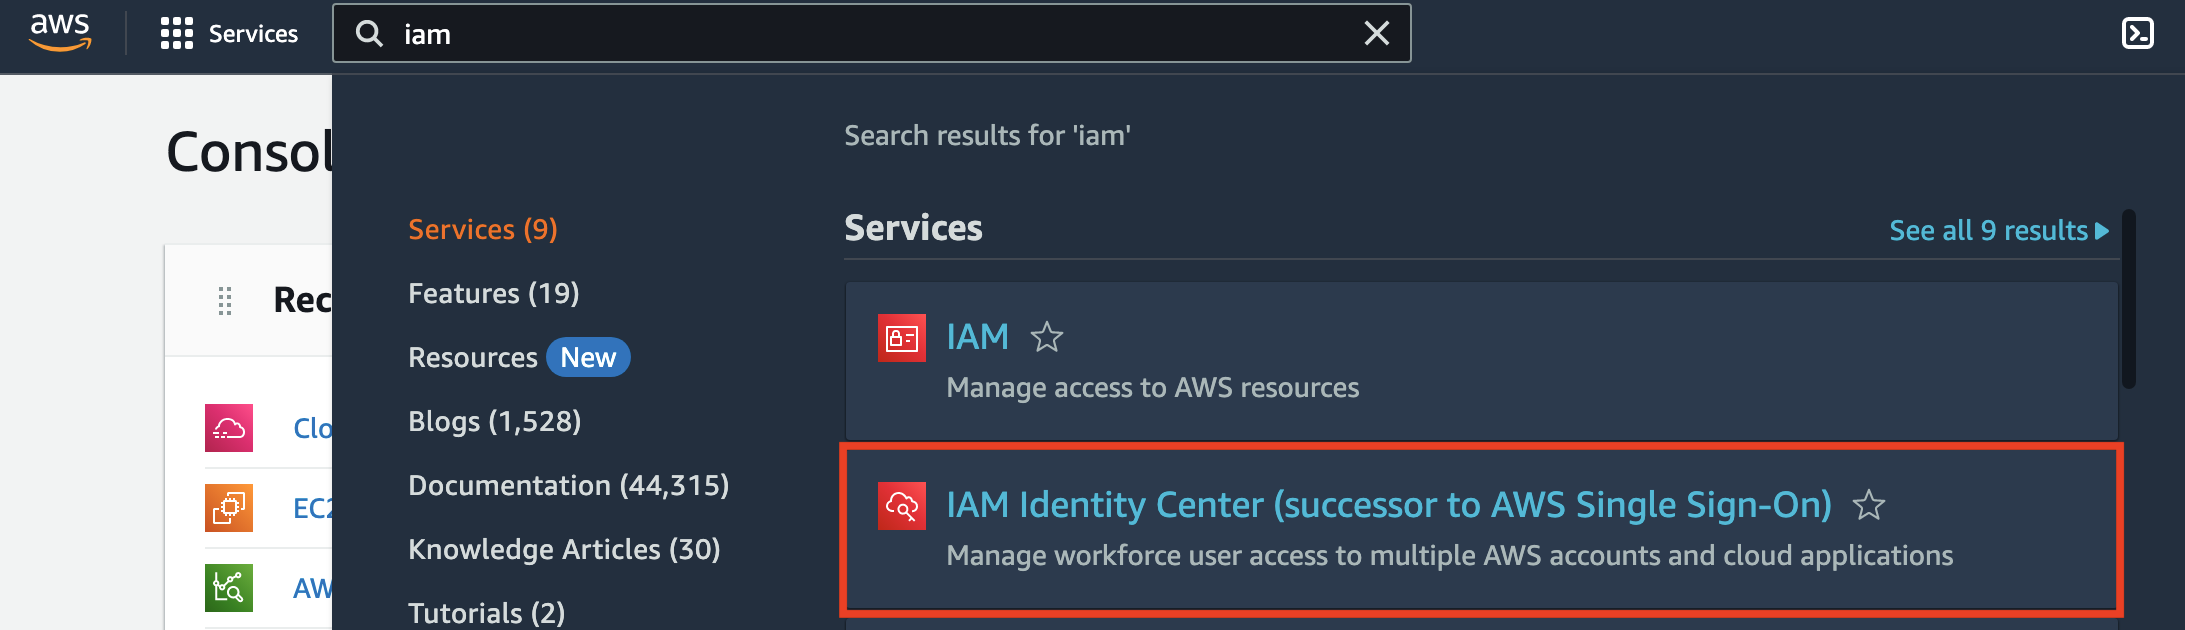
If you have already enabled IAM Identity Center, you can skip ahead a bit. For those who haven't, log into AWS with your root account, search for IAM, then click IAM Identity Center.
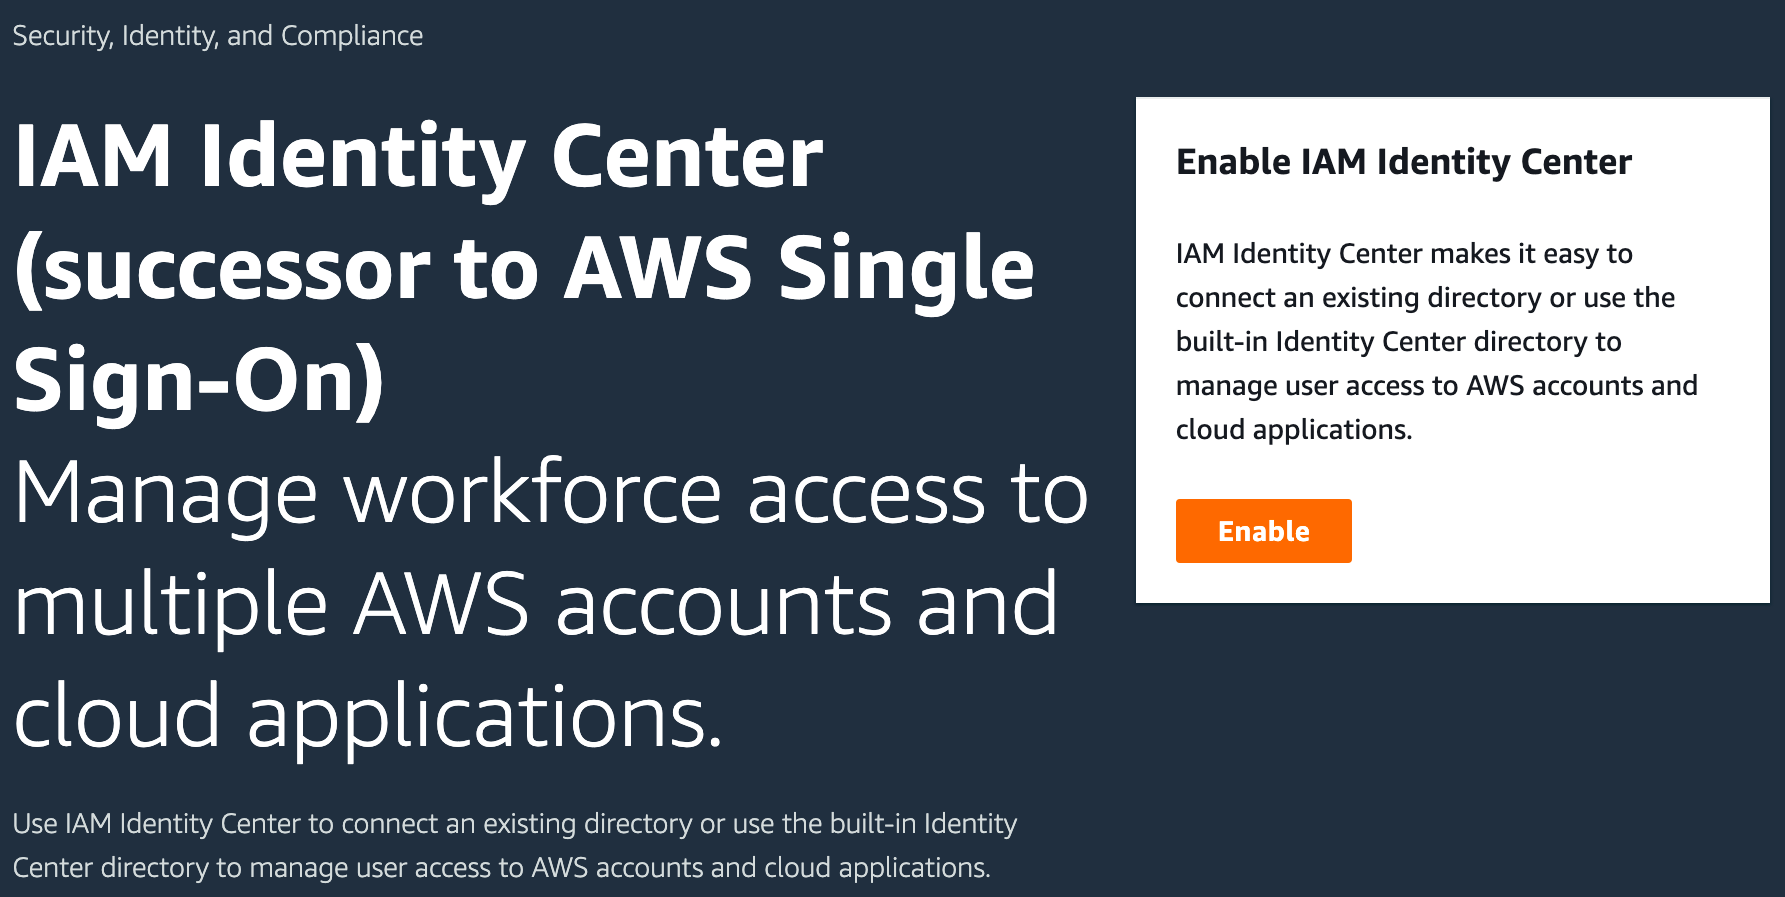
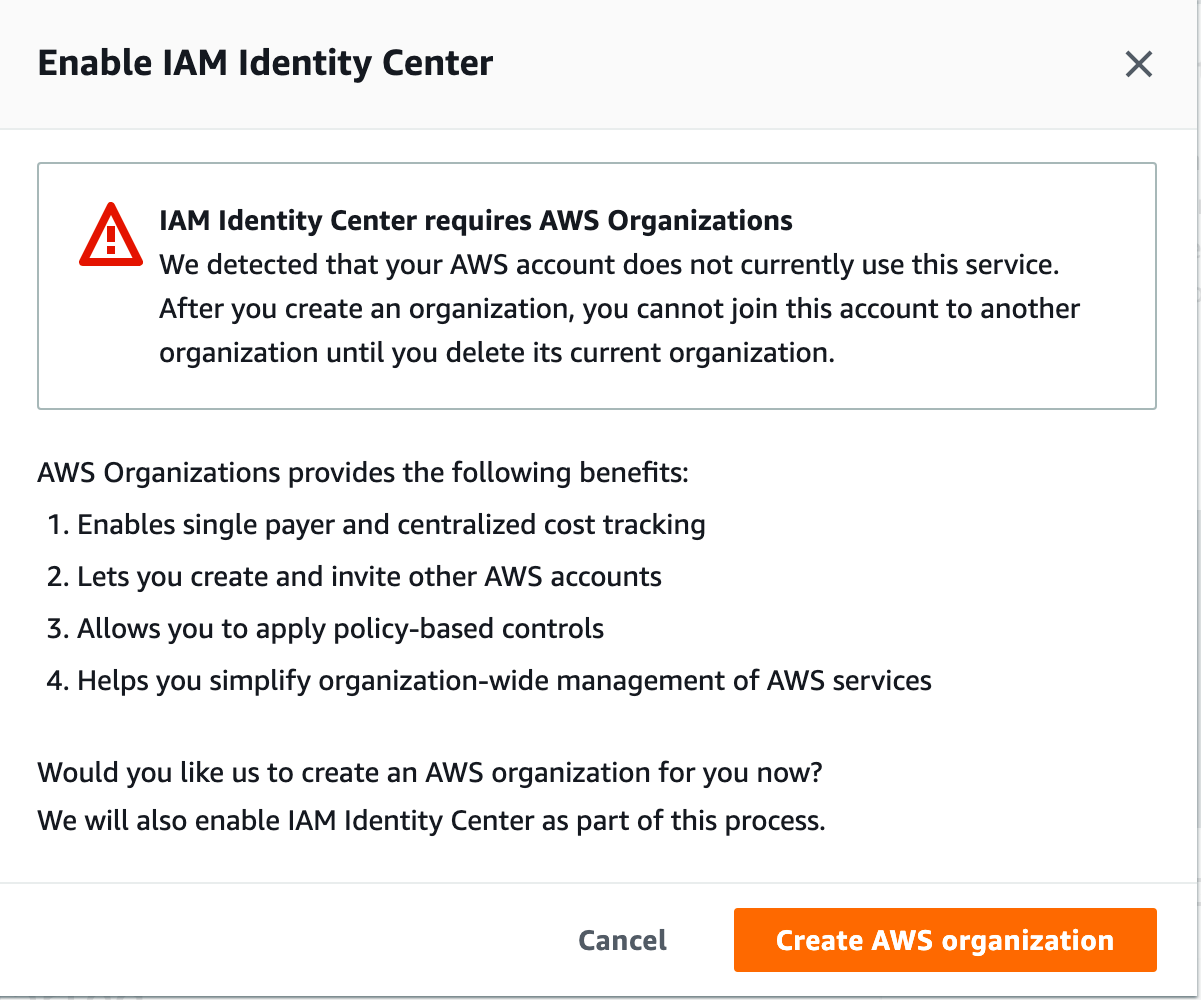
On the next page, click Enable, then click Create an AWS organization.
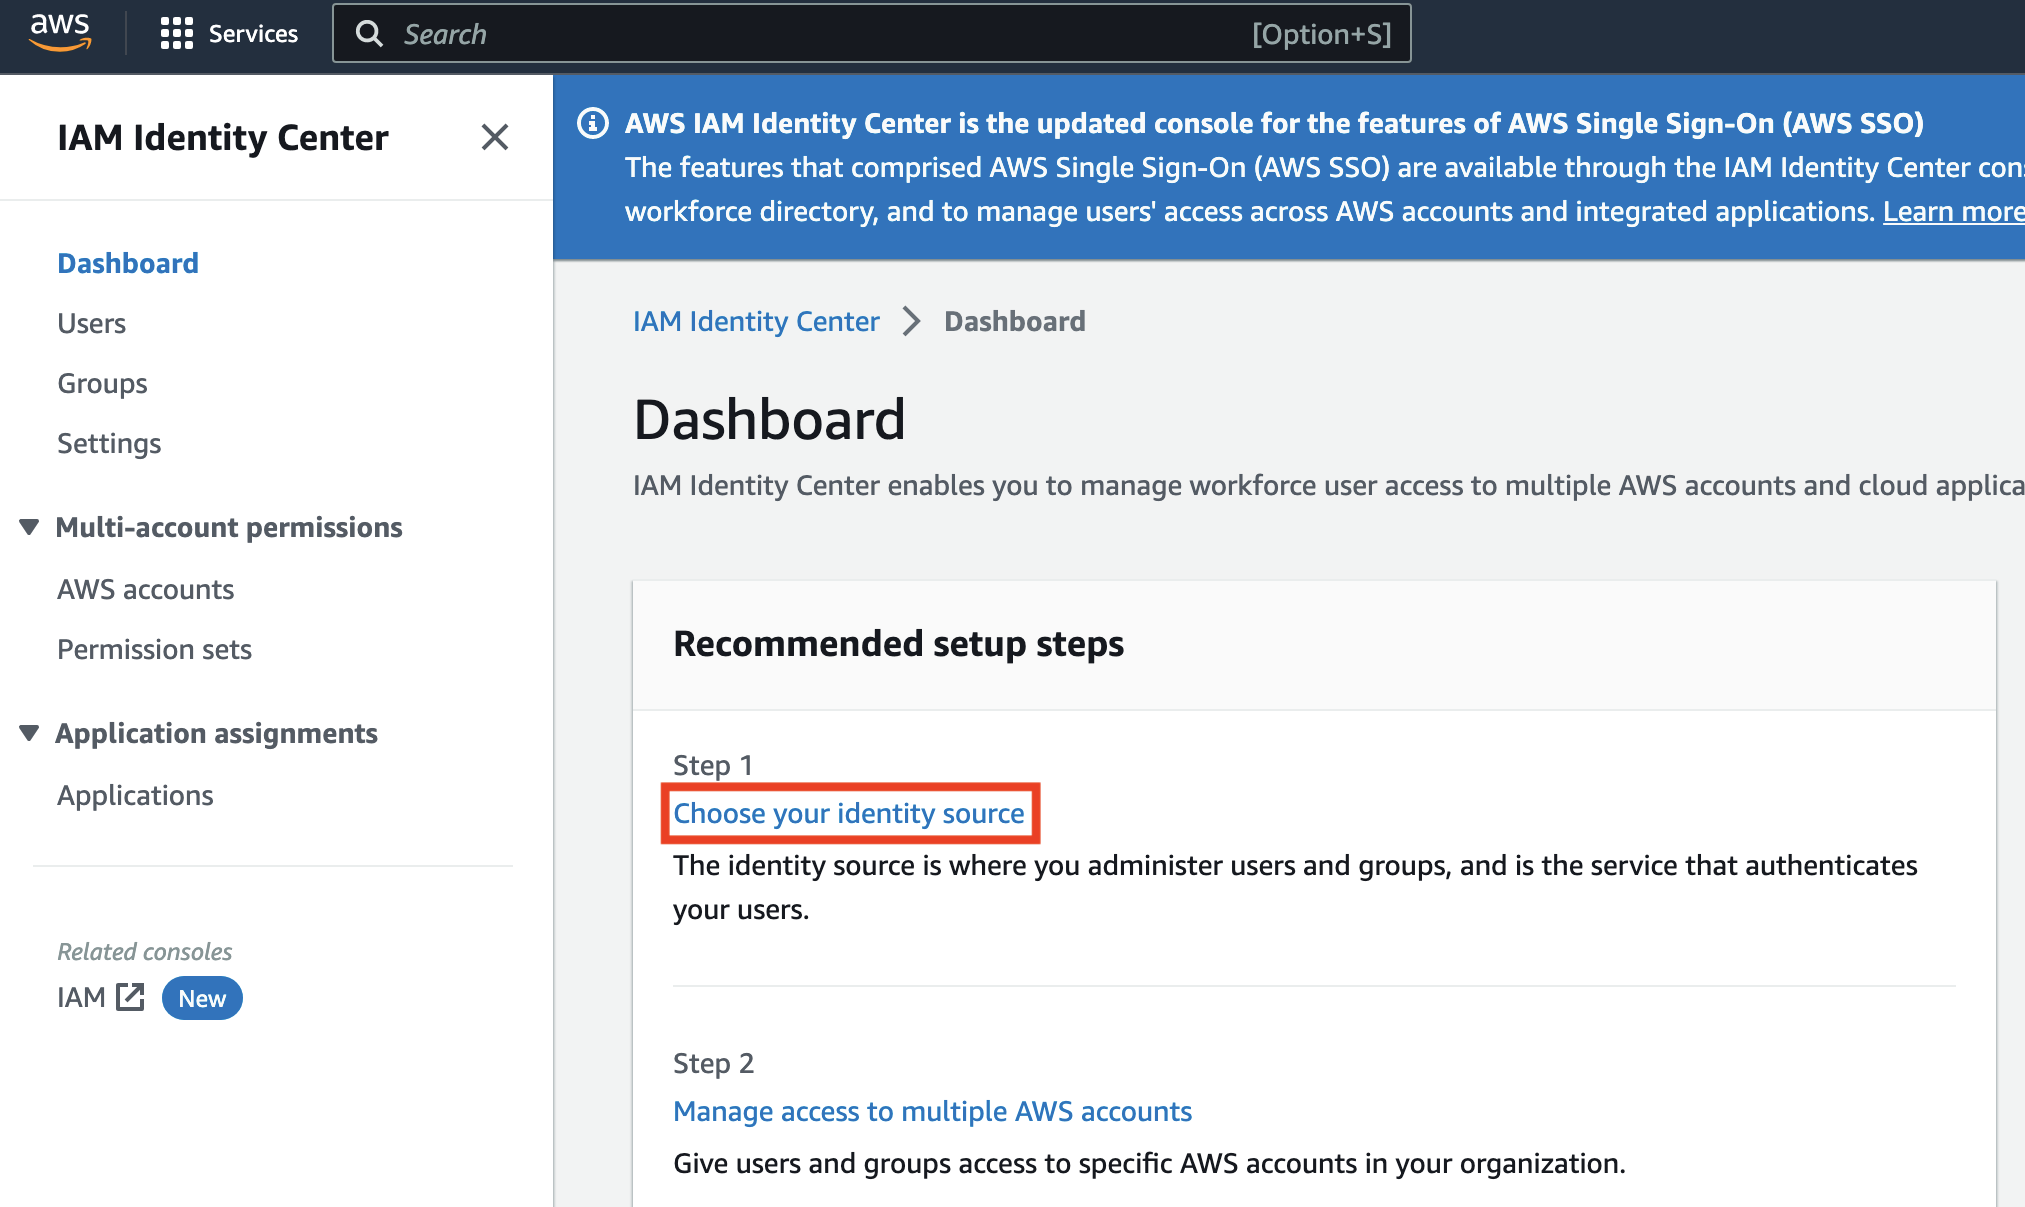
It will take a minute or so to provision the service, and AWS has helpfully provided some next steps for us. Click Settings on the left (or choose your identity source).
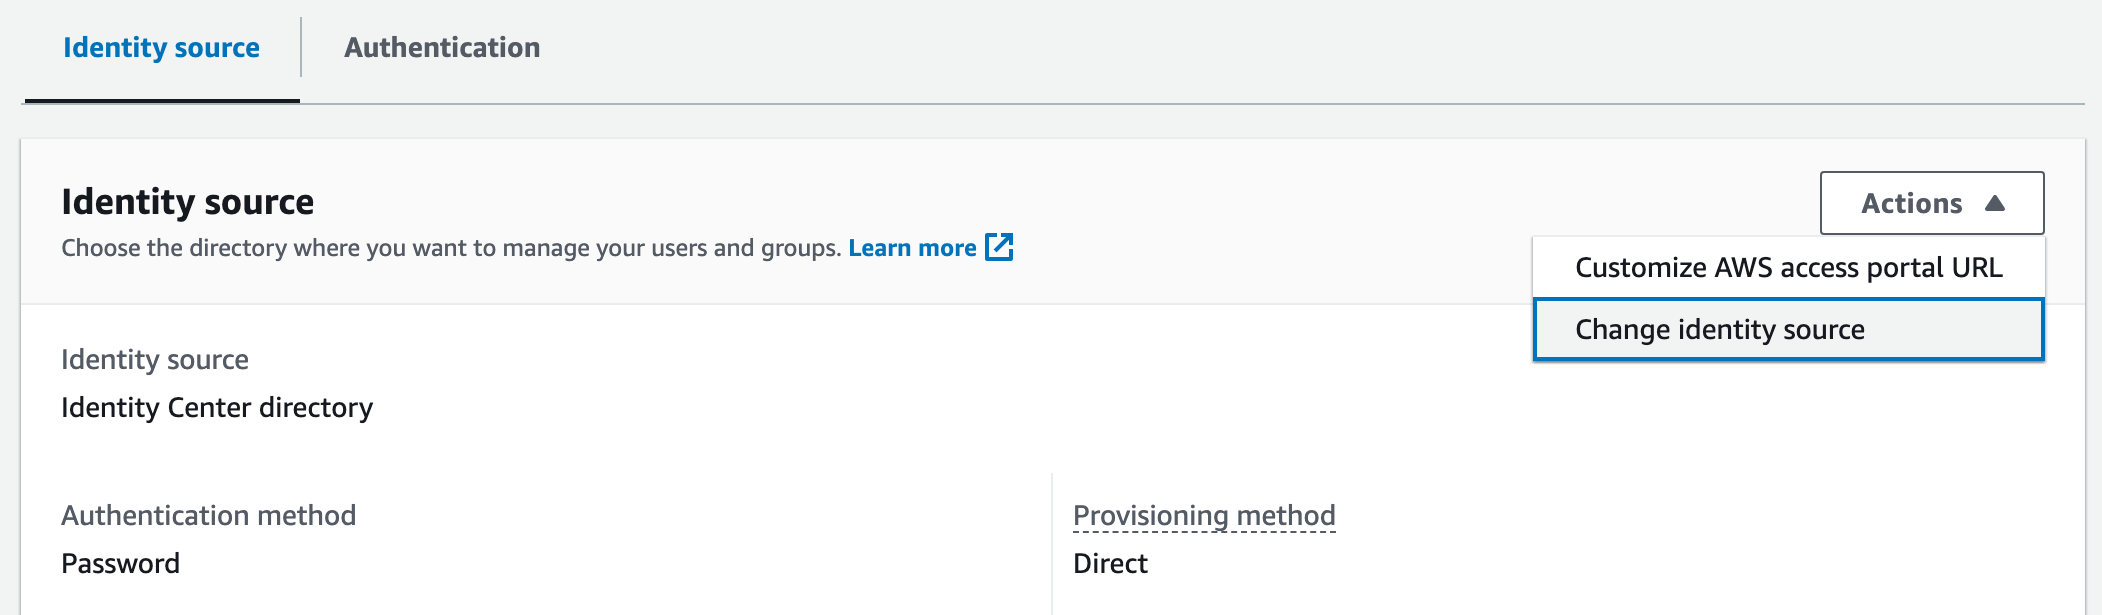
Scroll to the bottom, under Identity source, click Actions, and click Change identity source.
On the next screen, select External identity provider, and click Next.

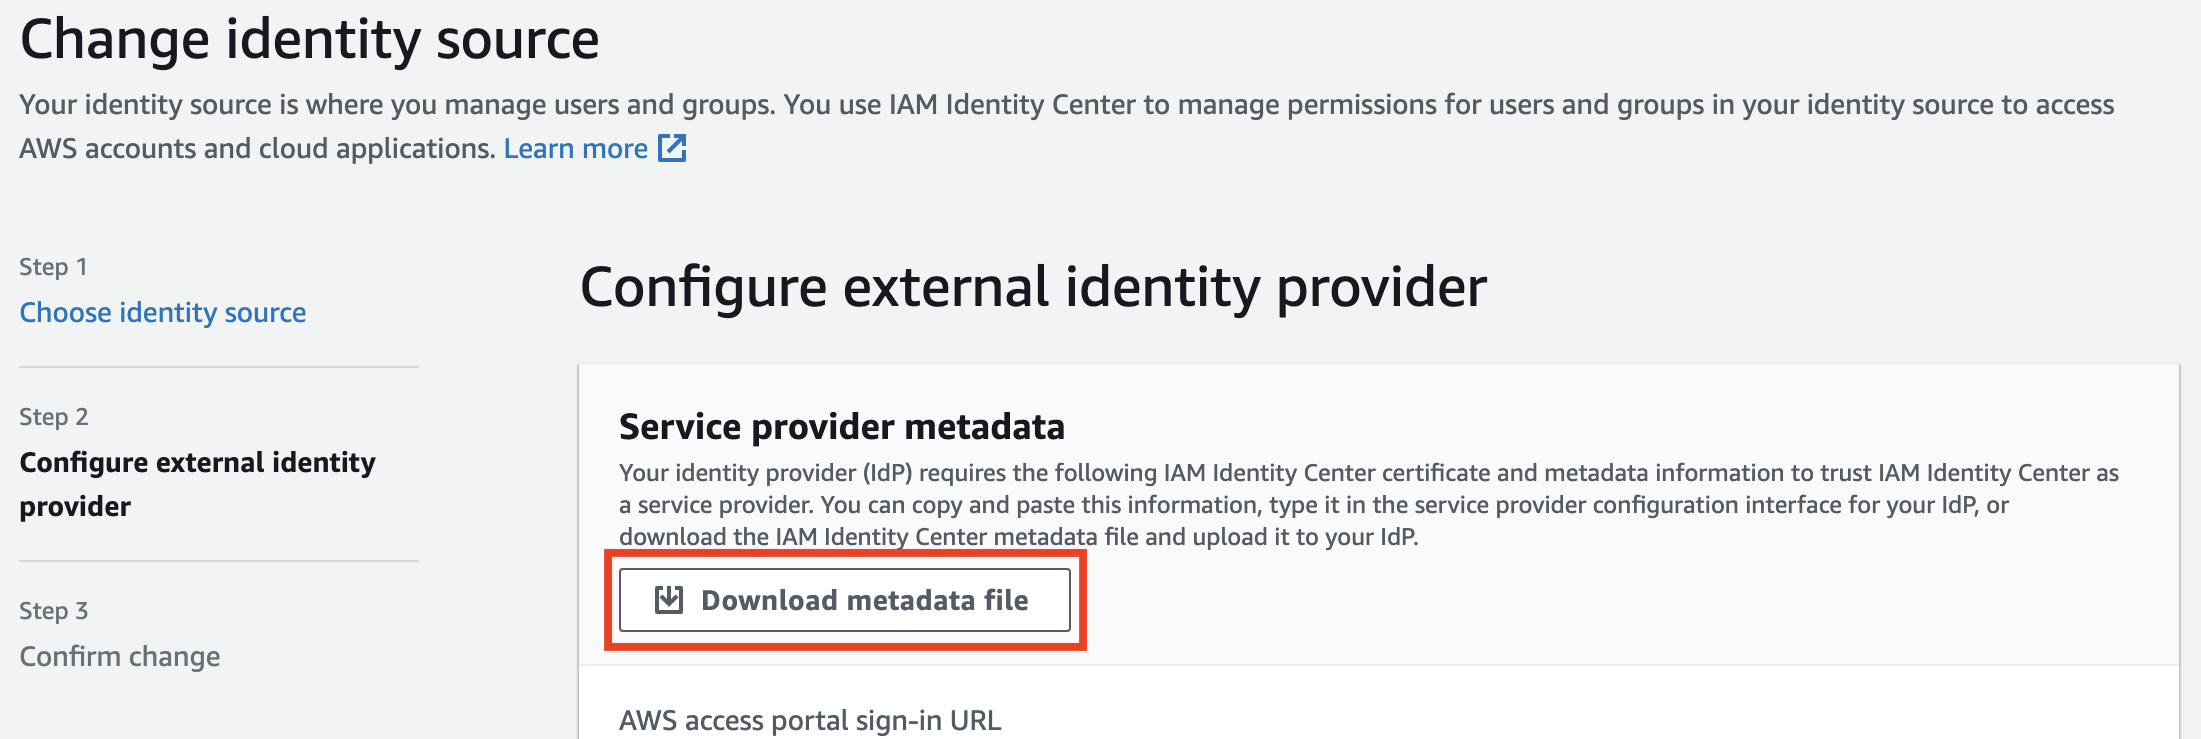
On the next screen, let's download the metadata XML, and then we'll need to take a quick break and configure the Azure AD side.
Enable PIM for Groups
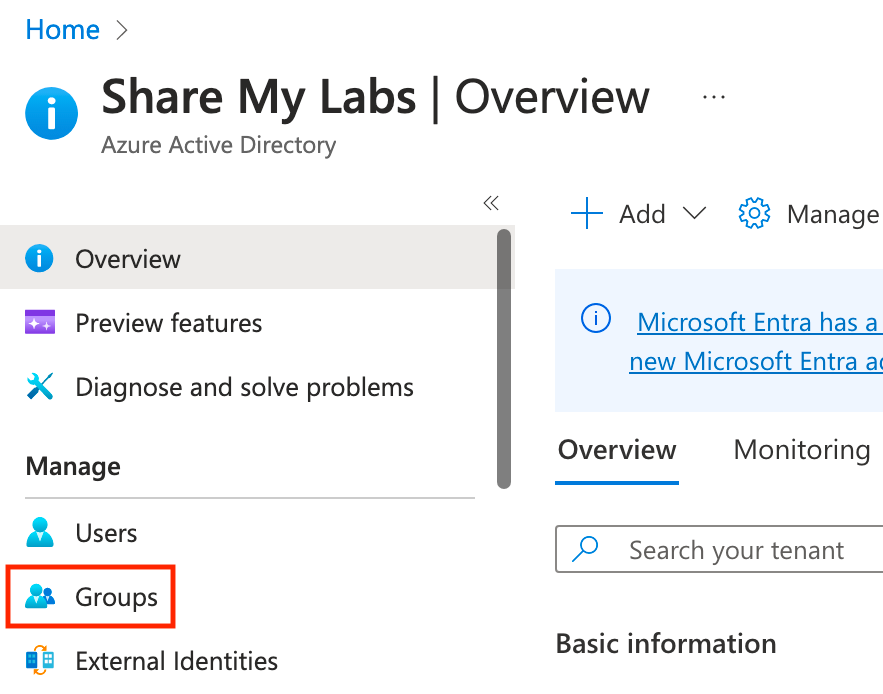
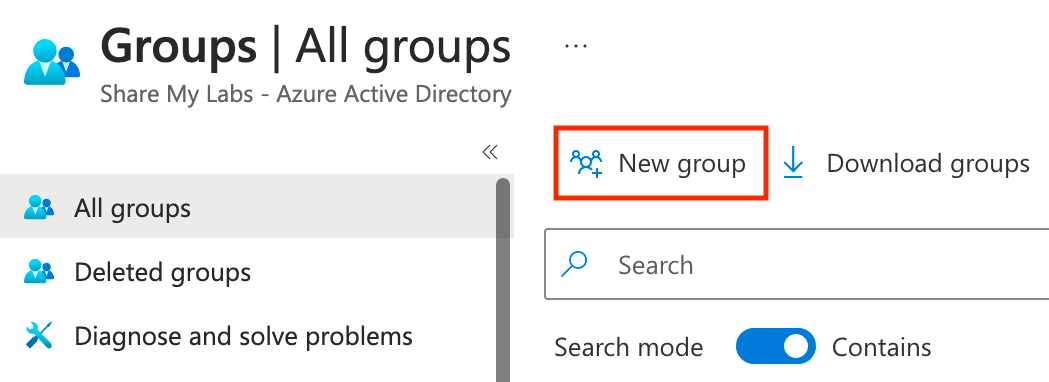
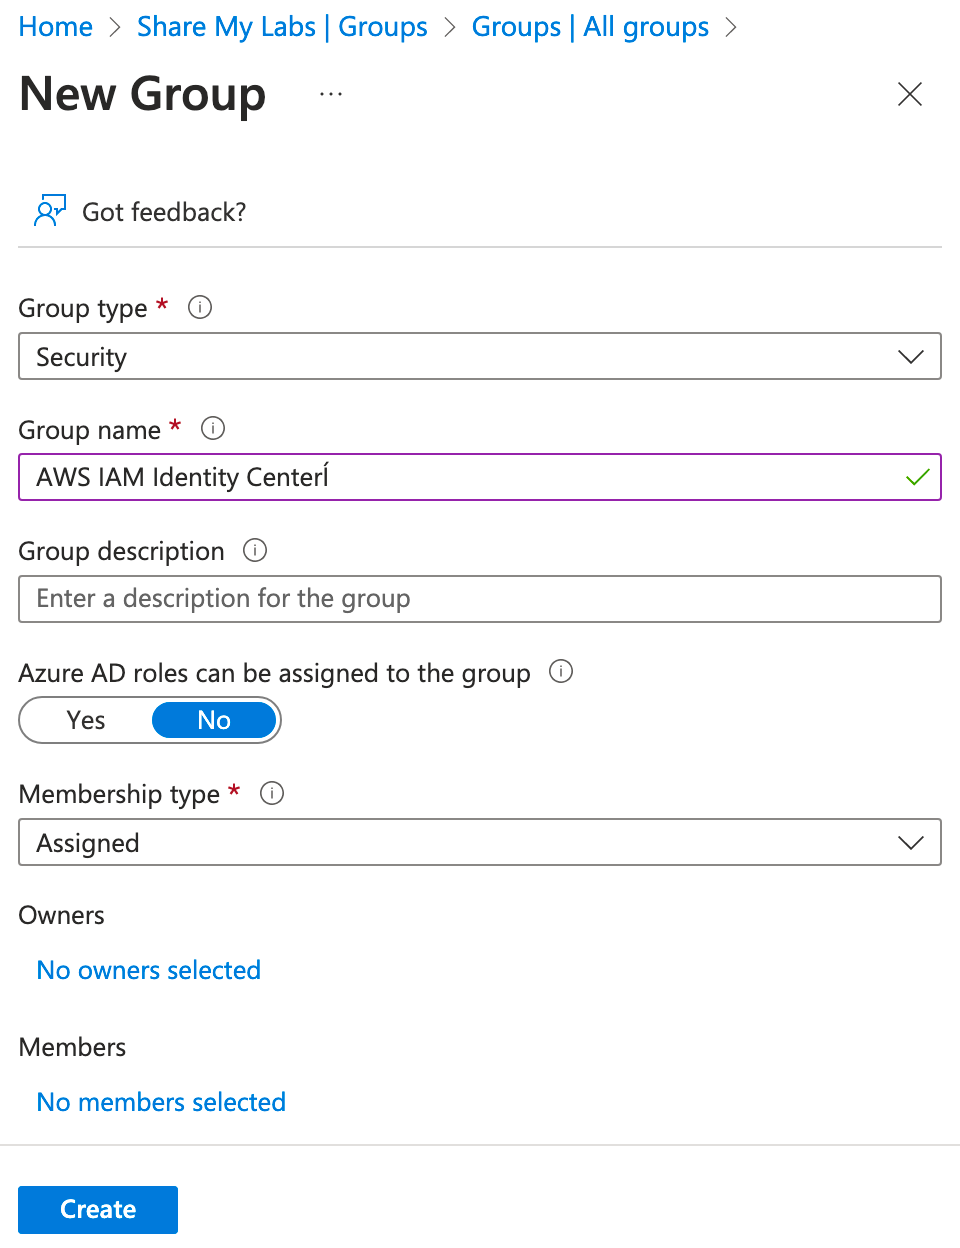
Let's log into the Azure Portal, open up Azure AD, and click on Groups, then click on New group, and create a new group leaving the owner and membership empty.
Now let's find our newly created group and enable Azure AD PIM for the group. You'll notice that this is now available without having to make the group role assignable during group creation - very nice! :)
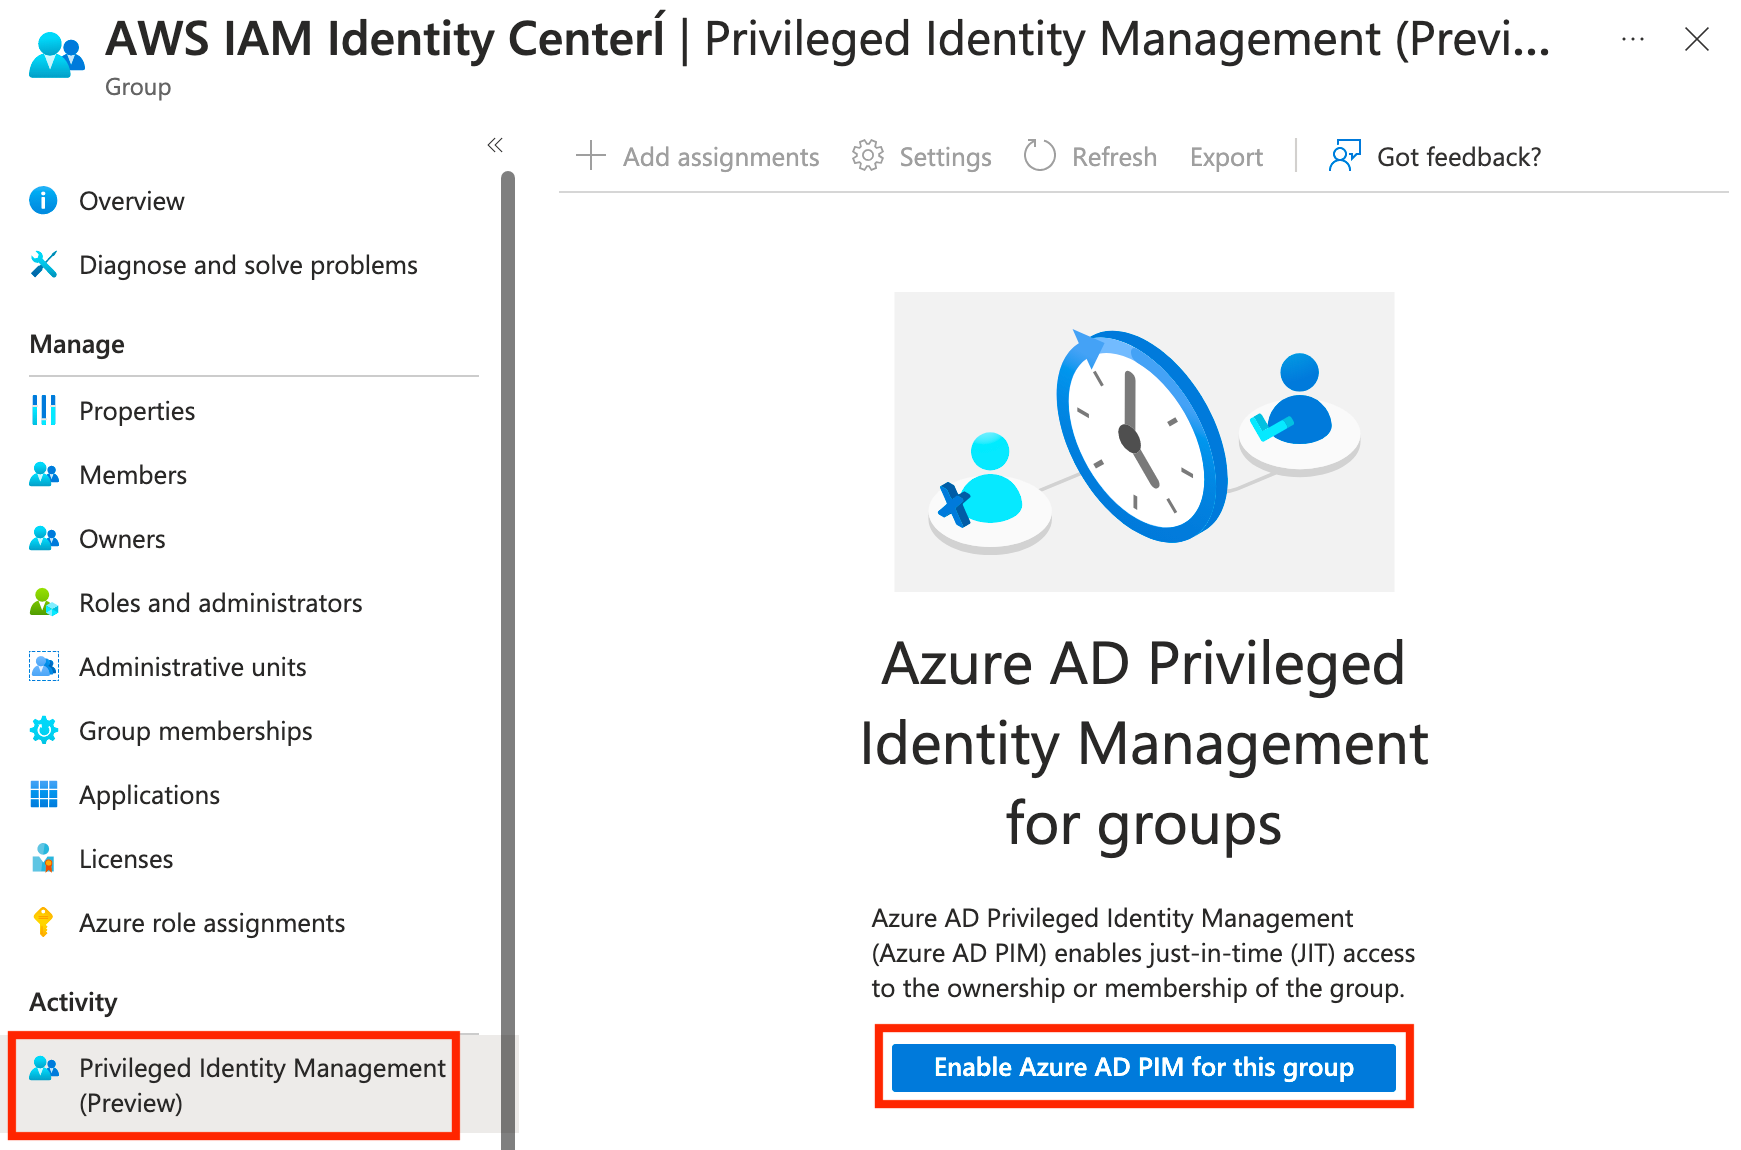
From here, we can now add users as eligible and optionally configure the settings for the group. To keep this article short, I'll leave this part up to you.

Azure AD Enterprise Application
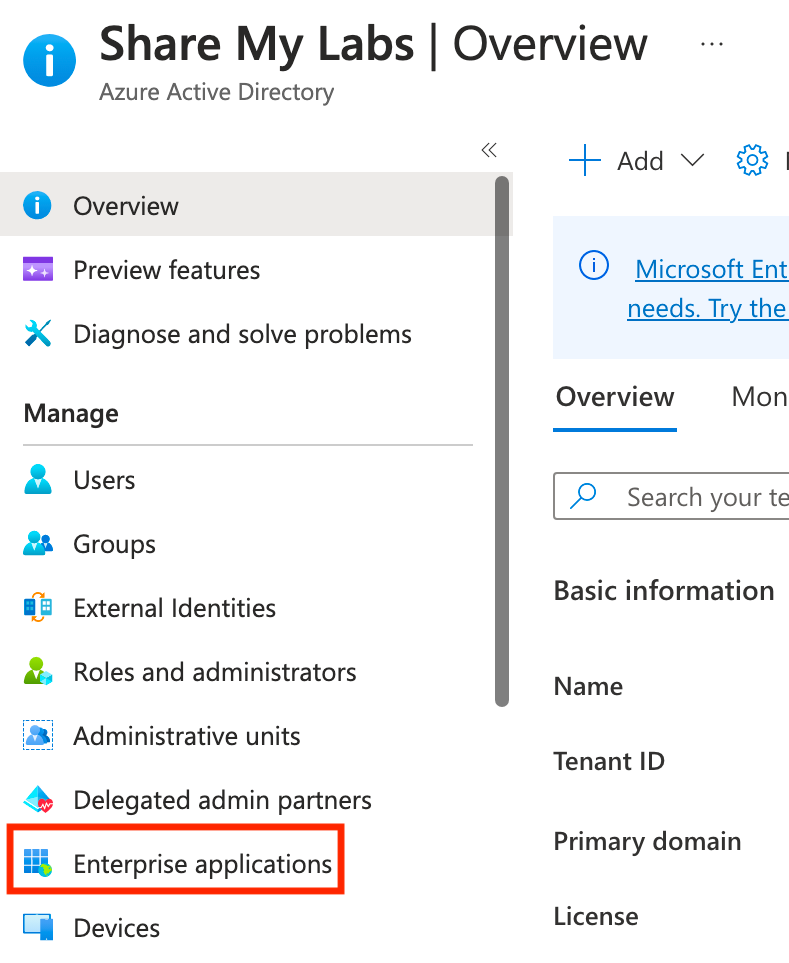
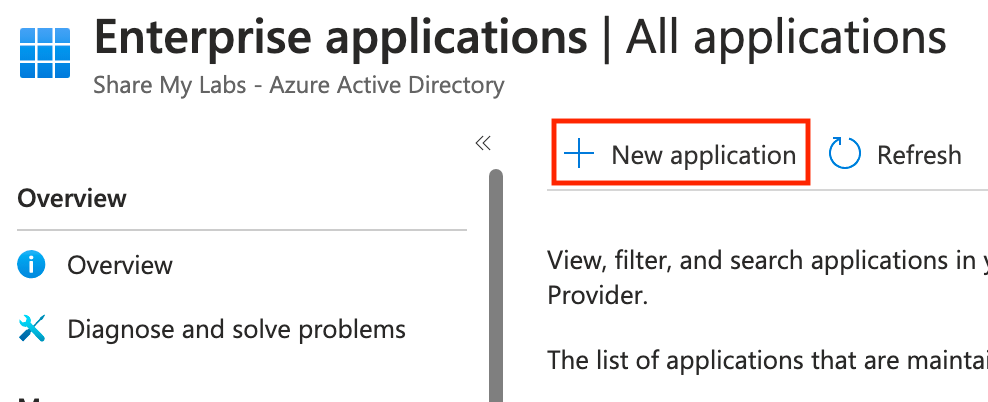
Next, let's head over to Enterprise Applications and click New application.
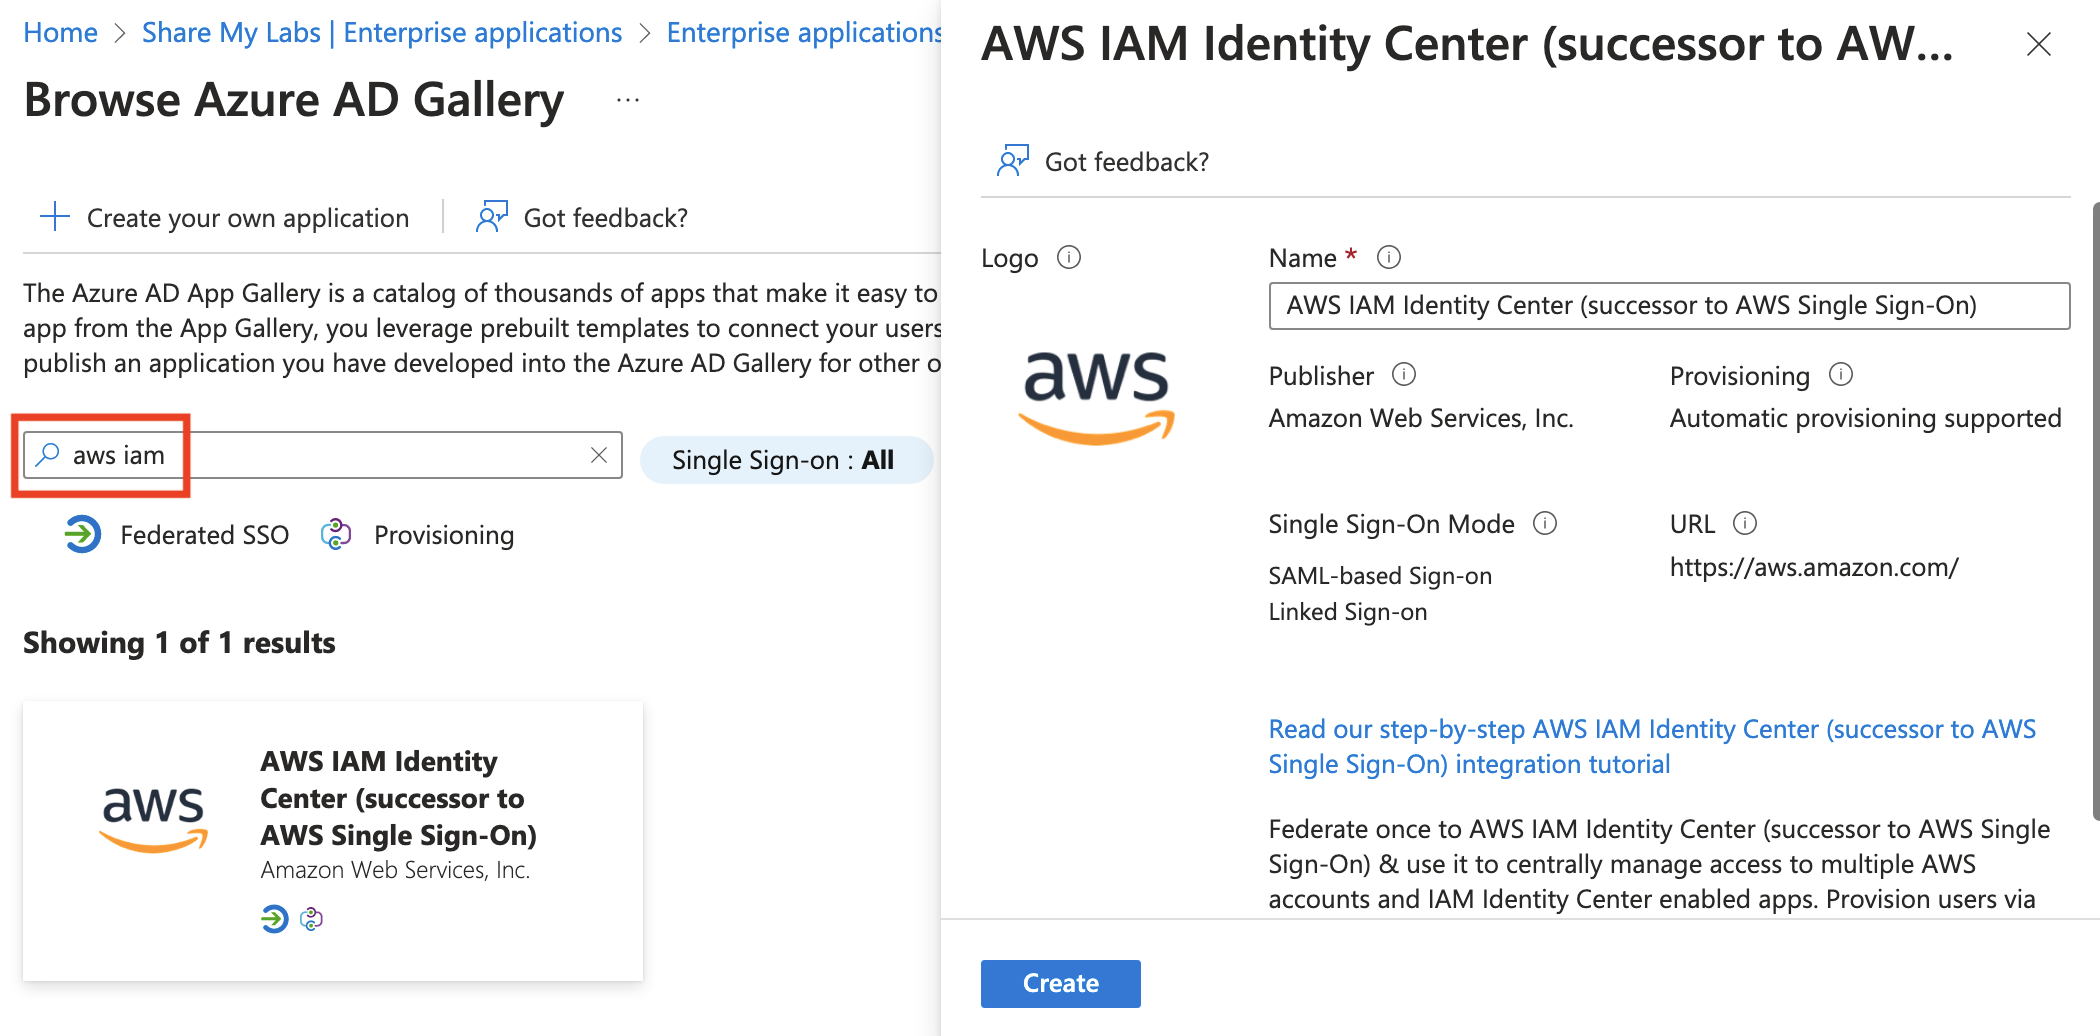
On the next screen, do not select the AWS tile on the main screen. This takes you to the single-account app. Instead, search for AWS IAM, then select the AWS IAM Identity Center app, and click Create.
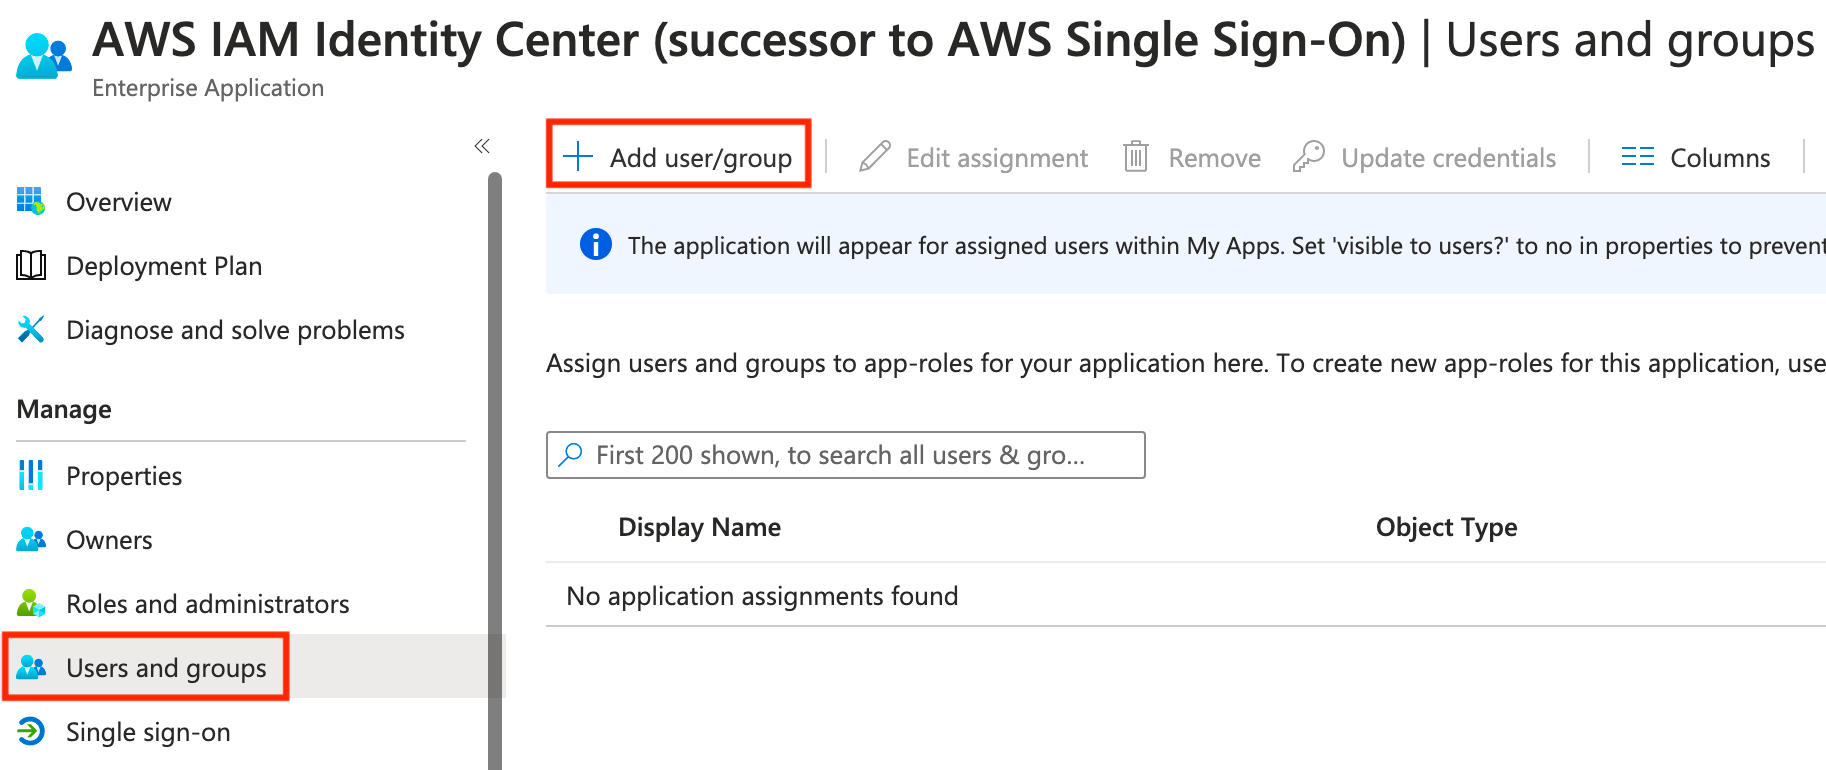
Once the app provisions, click Users and groups, then click Add user/group. Click None selected, then search for the group we created and add it.
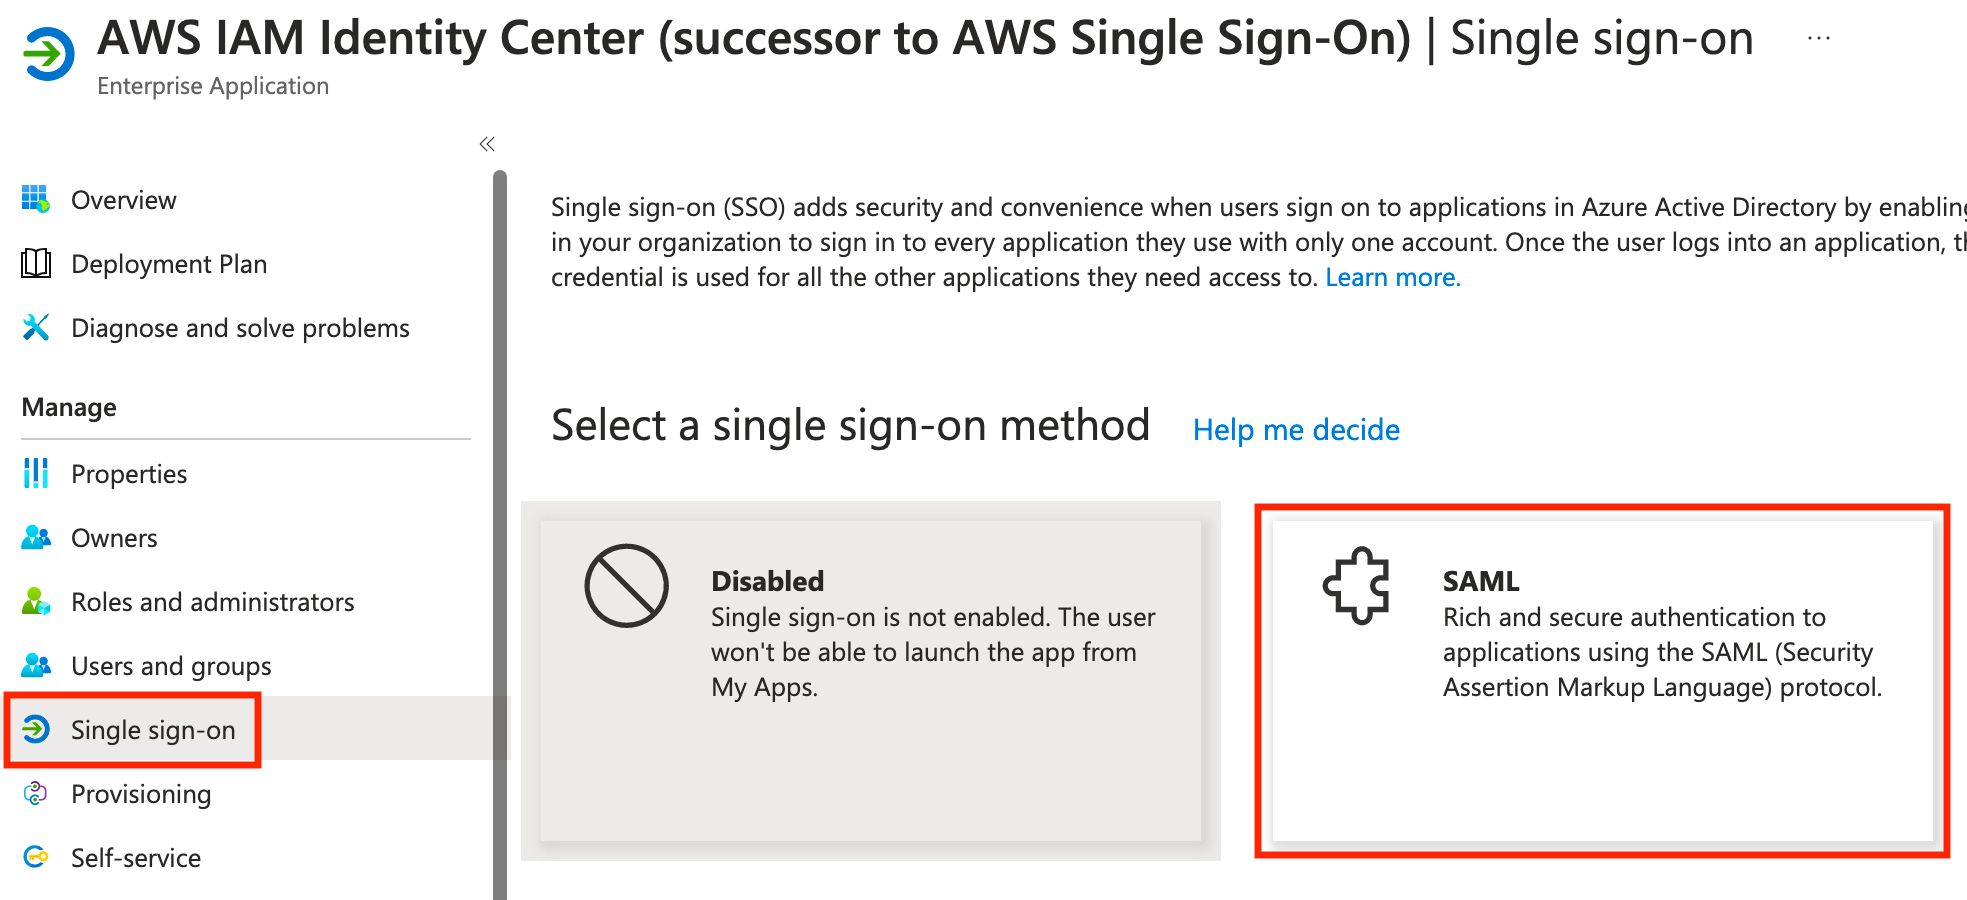
Next, click Single sign-on, then select SAML.
Next, click Upload metadata file, select the metadata XML file we downloaded from AWS, and click Add.
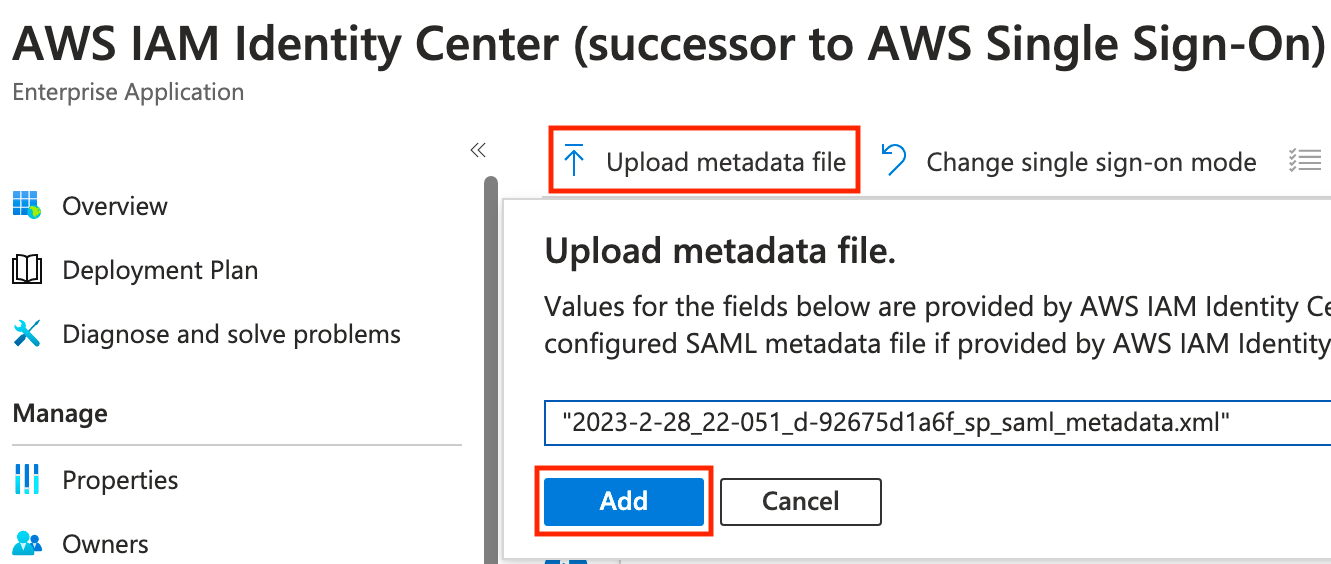
The Basic SAML Configuration blade will come out from the right side. No adjustments are needed, simply click Save.

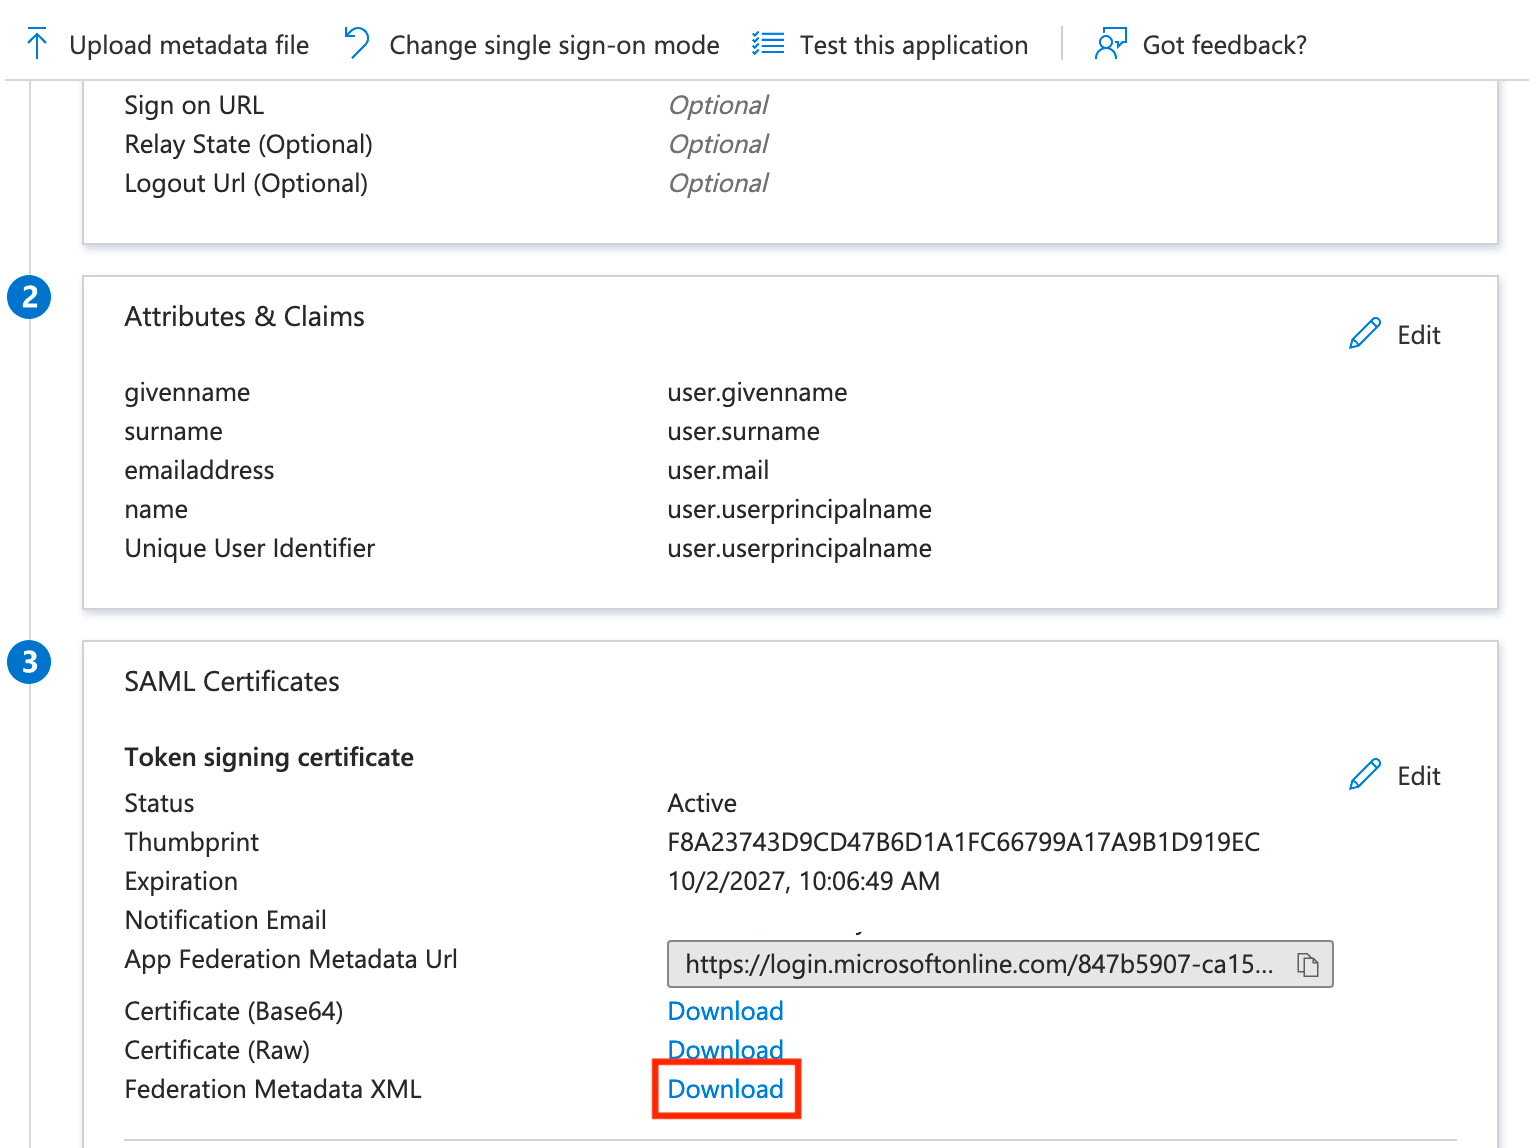
Now scroll toward the bottom and download the Federation Metadata XML, then head back over to AWS!
Finish AWS Configuration
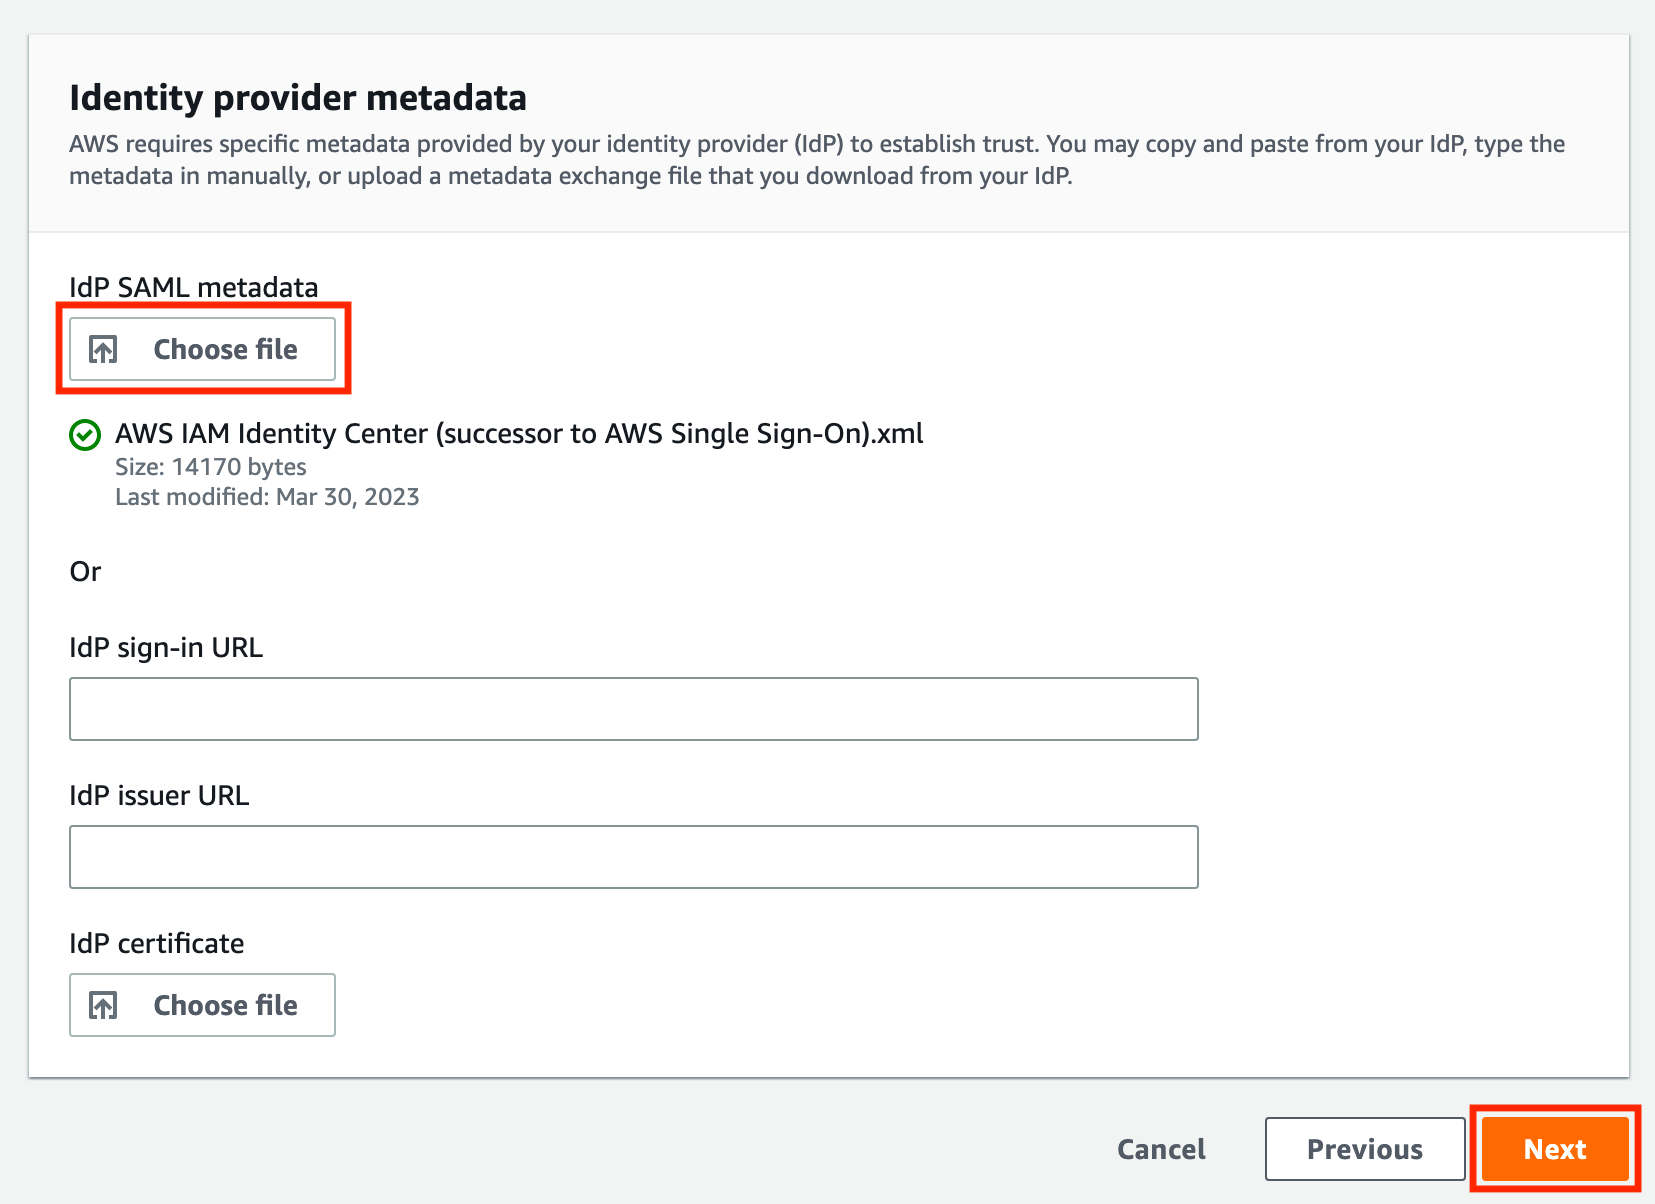
Heading back to the tab we hopefully left open, we'll scroll to the bottom, click Choose file, then upload the metadata XML file we downloaded from Azure AD. You should see the file with a green check mark, and then you can click Next.
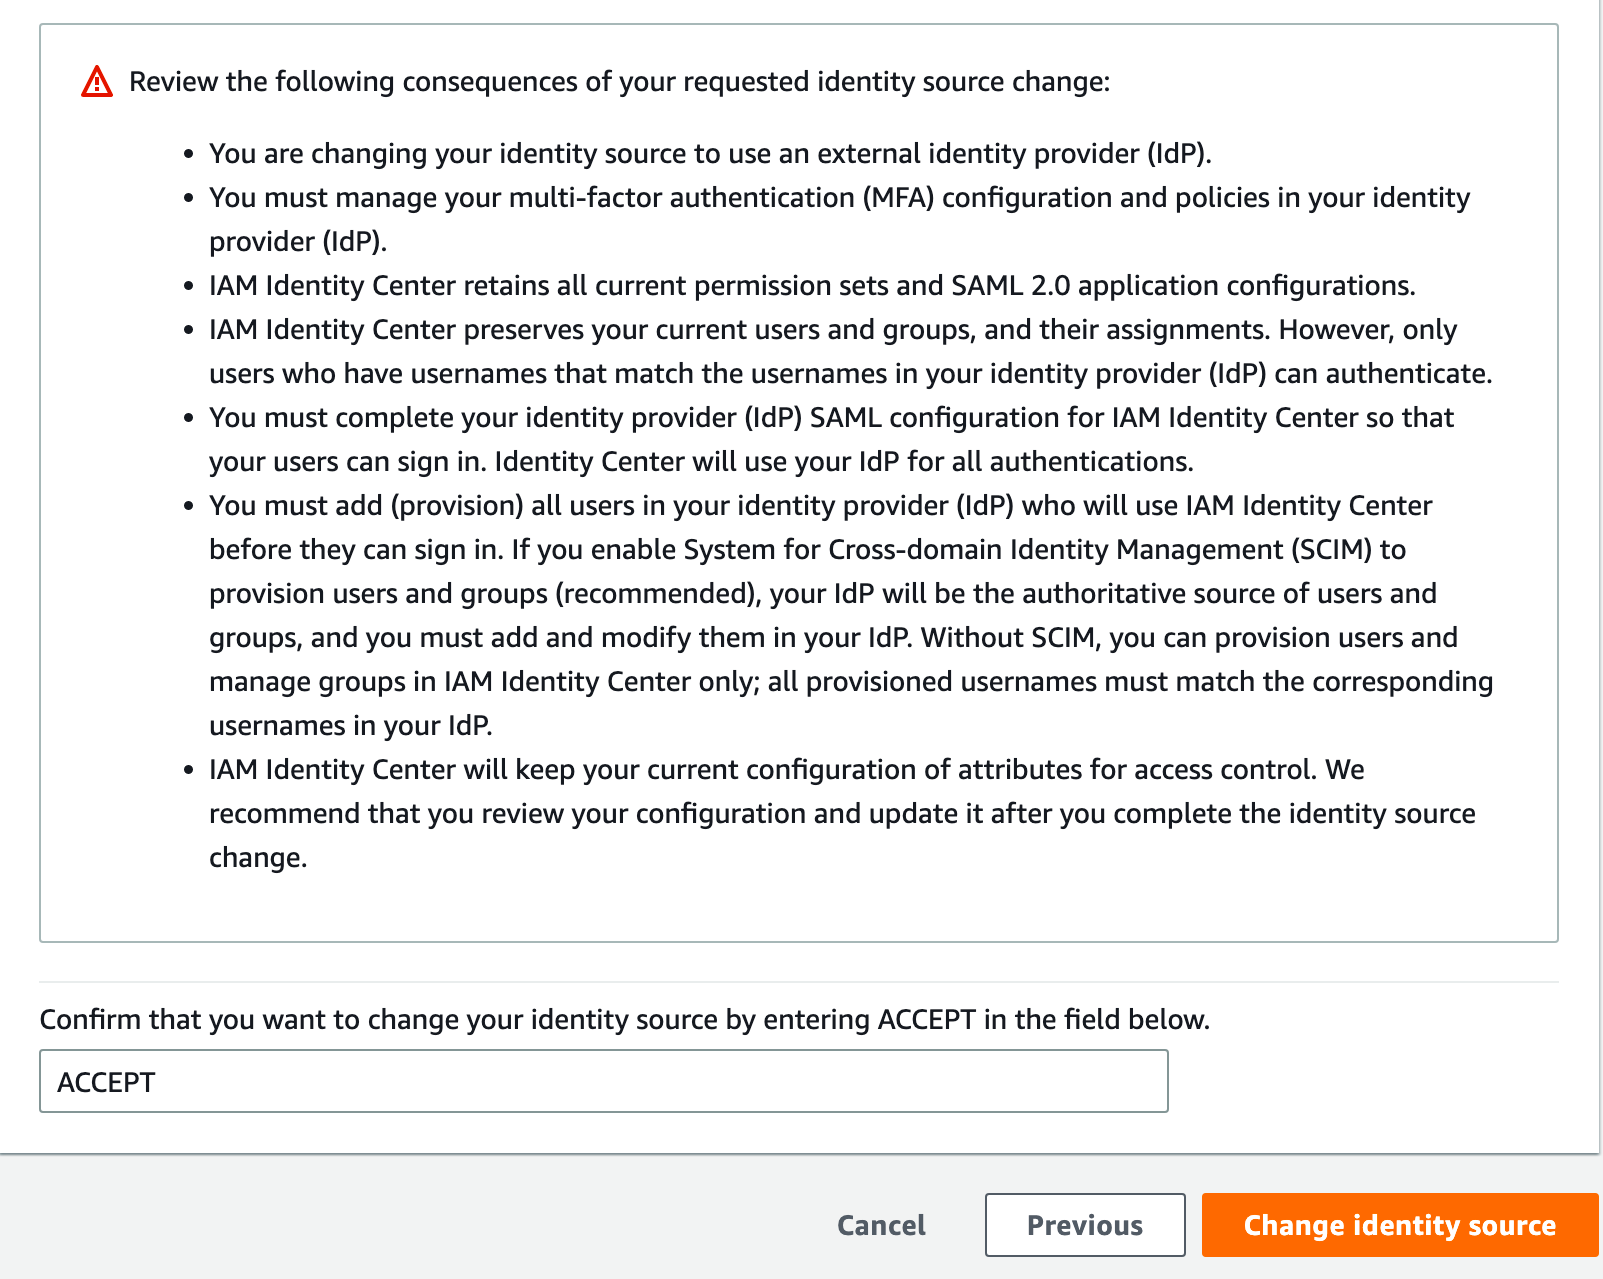
The page will kind of reload, then scroll to the bottom, type ACCEPT, and click Change identity source.
Next, we need to create a user account, create a permissions set, and then grant the user permissions. While we can use SCIM to provision accounts, that would make this post even longer than it already is... so manual it is :P
Let's start by clicking Users, then click Add user.

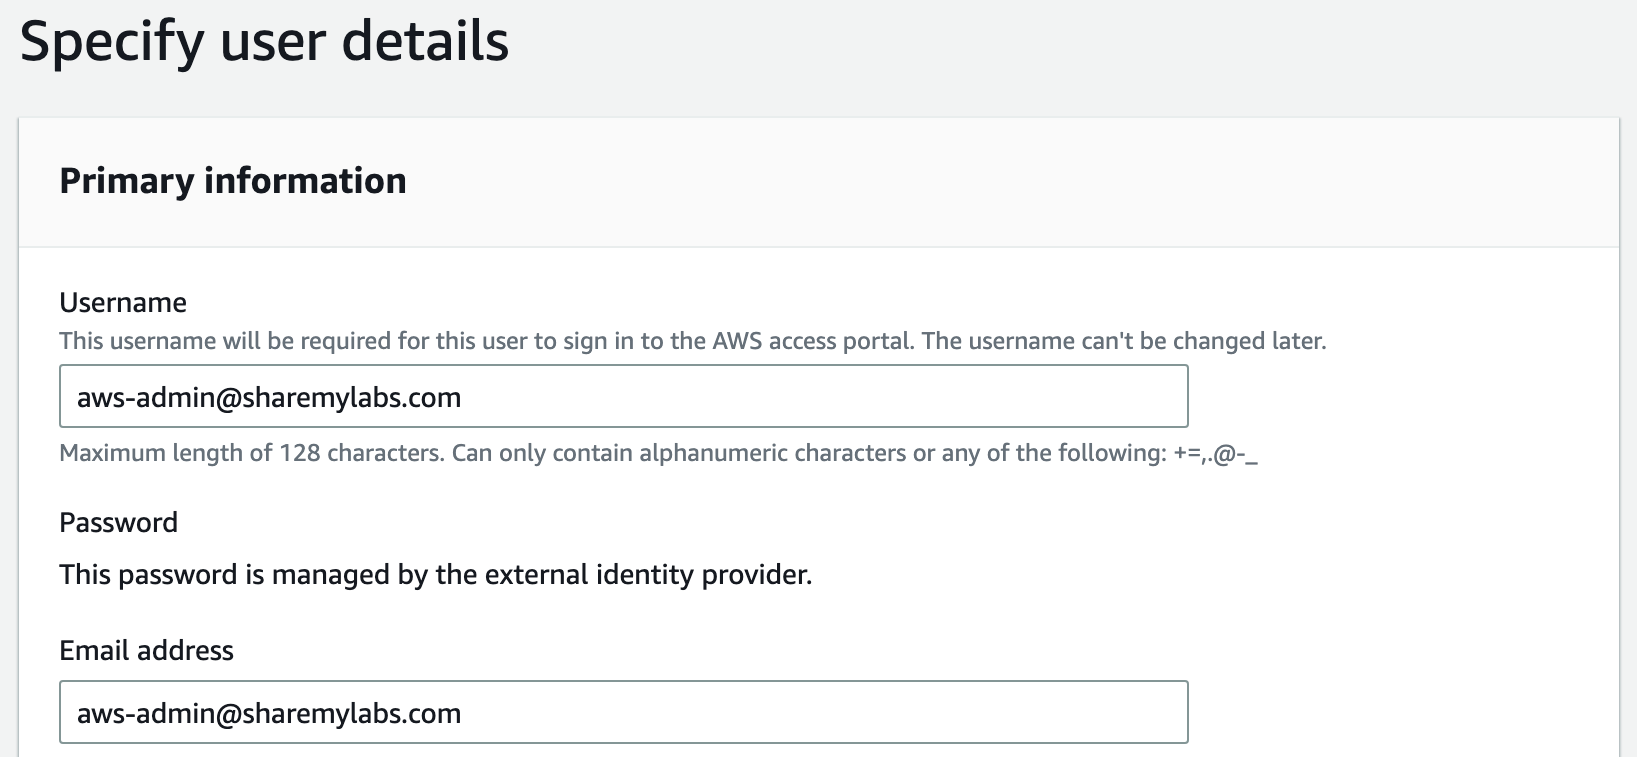
On the next page, the username must match whatever attribute we chose for Name ID on the SAML configuration in Azure AD. By default, this is userPrincipalName (UPN), then also provide an email address and name information, then click Next. Skip adding to a group for now, you can do that later if you want, click Next, then create the user.
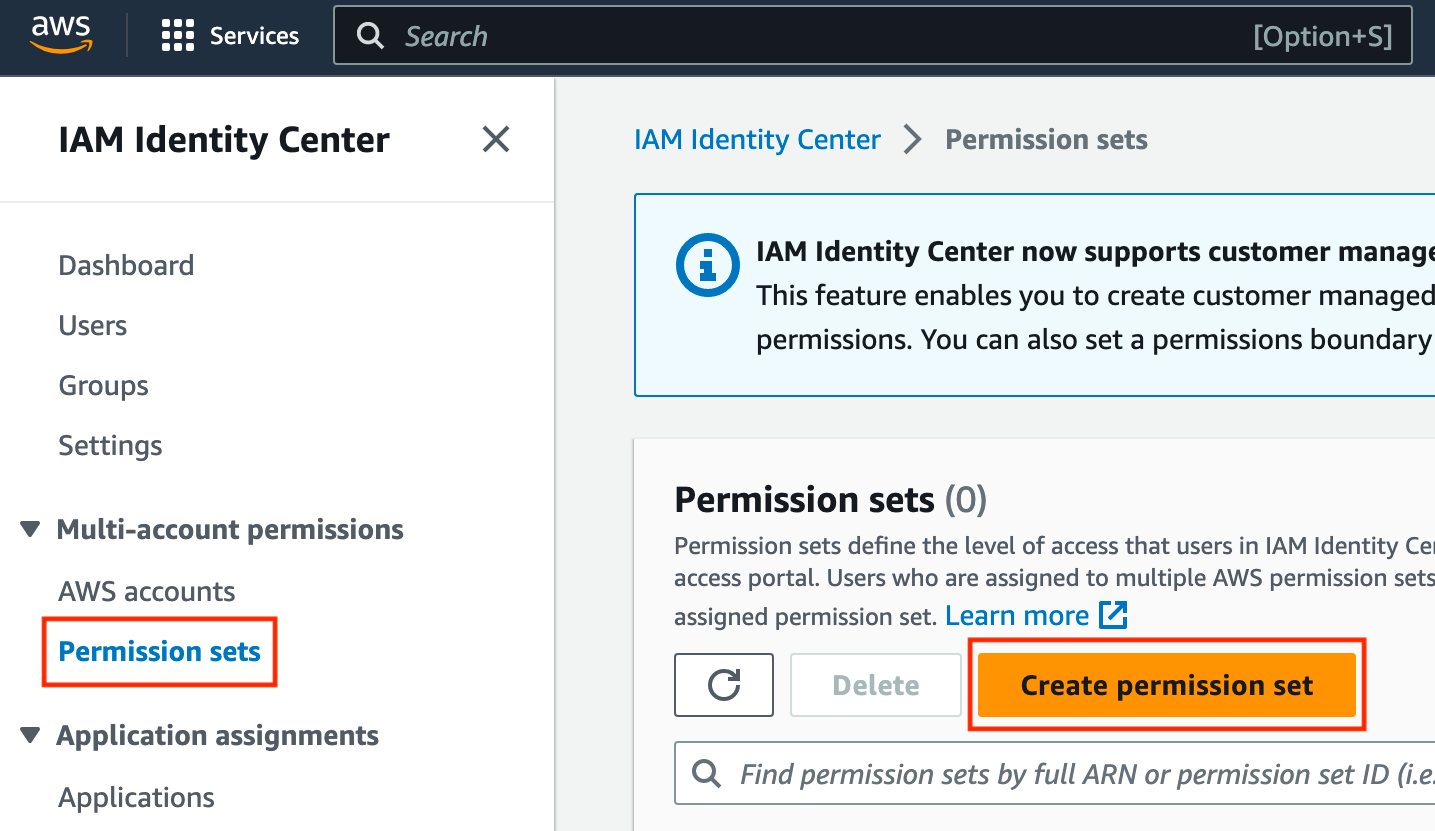
At this point, we should be able to activate our role in the group and access AWS successfully, but we won't have access to any apps or roles. Lets click Permission sets, then click Create permission set.
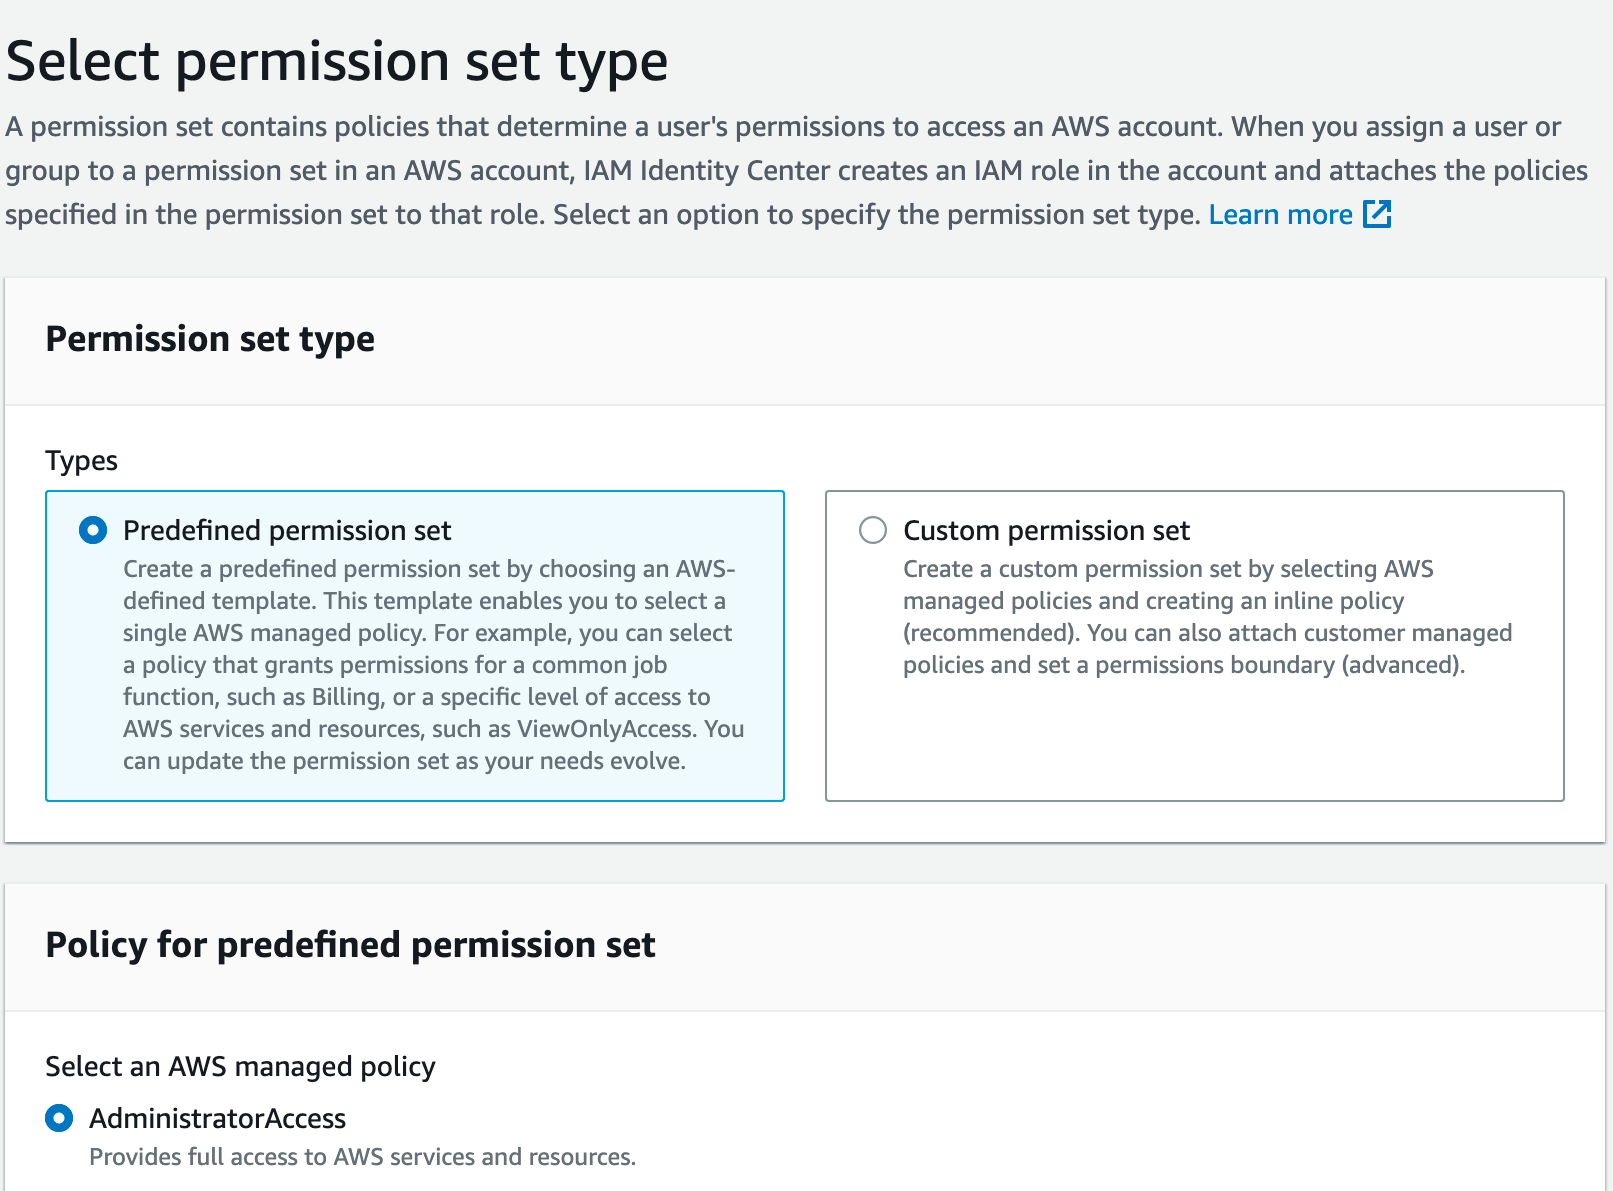
On the next page, you'll see a nice set of predefined permission sets that you can choose from, or you can create a custom permission set. For this, I'm going to use the already selected AdministratorAccess, scroll to the bottom, and click Next.
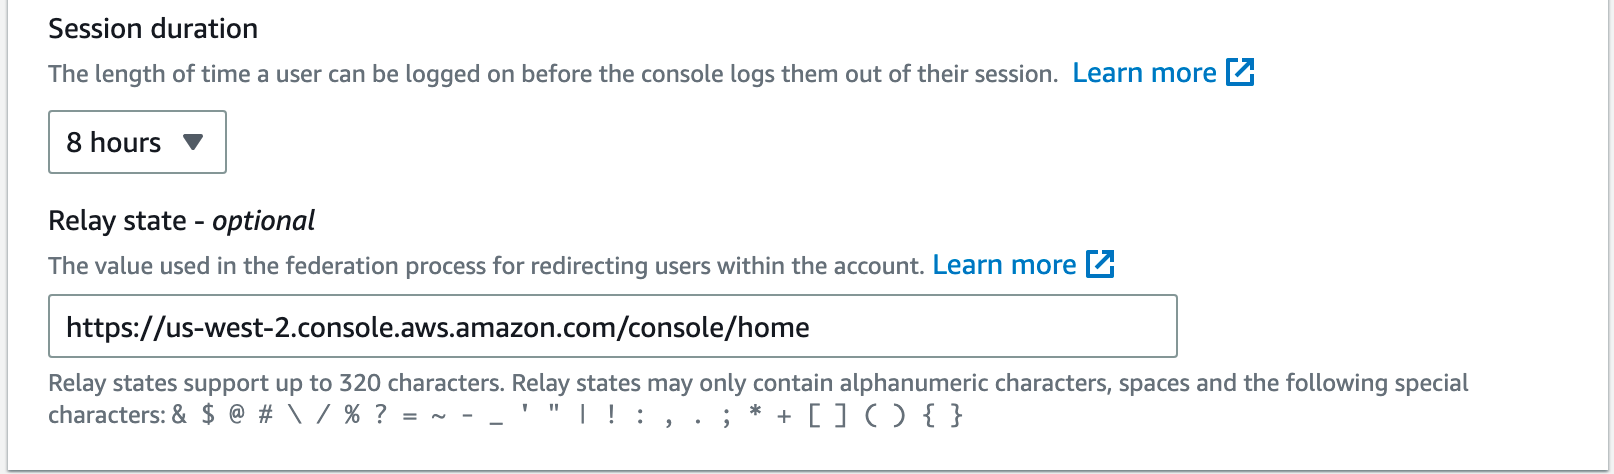
On the next page, we'll see some optional configuration settings including session duration. An important note is that even though we've defined a session duration in our SAML token from Azure AD, the session duration for the assigned role will be enforced instead.
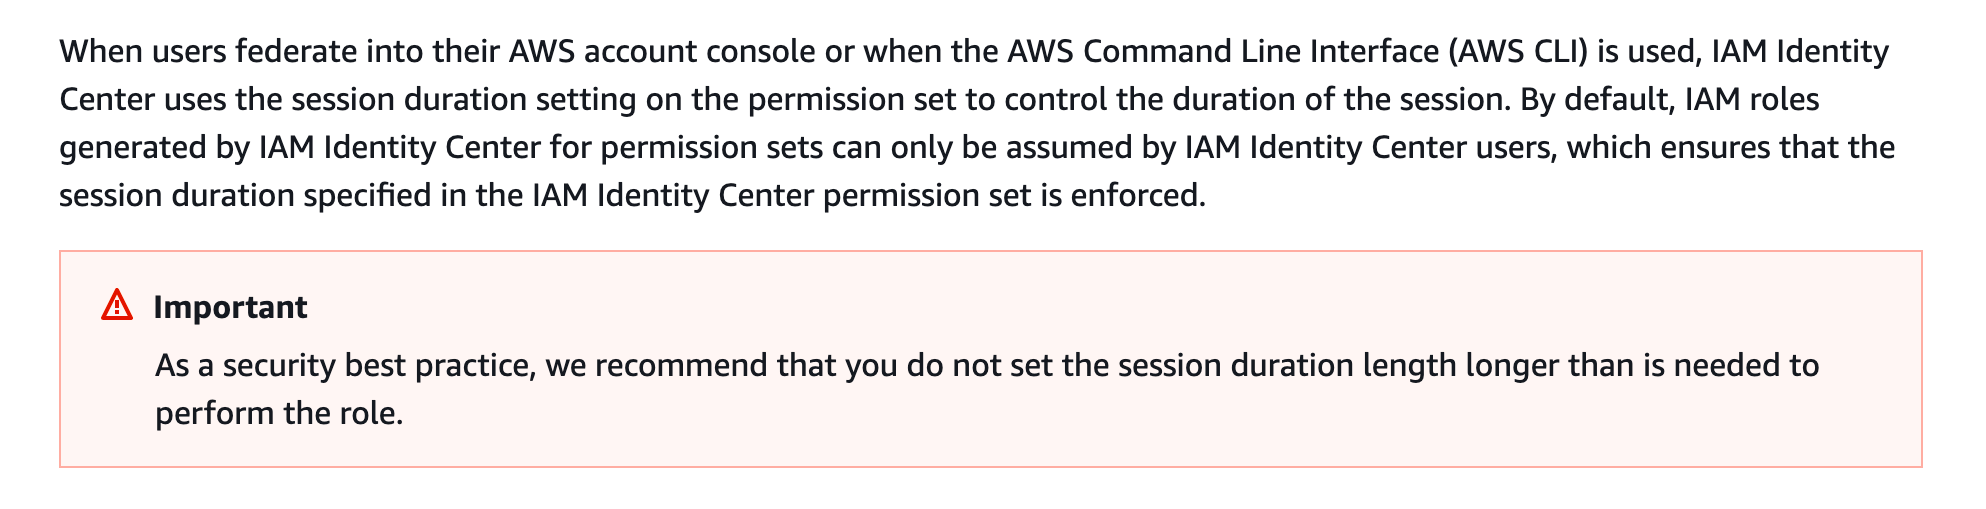
For my personal account, I adjusted the duration to 8 hours to match my SAML token, but we really do want these to be as short of sessions as possible to do the task at hand. I chose to put the console URL for my preferred region in Relay state.
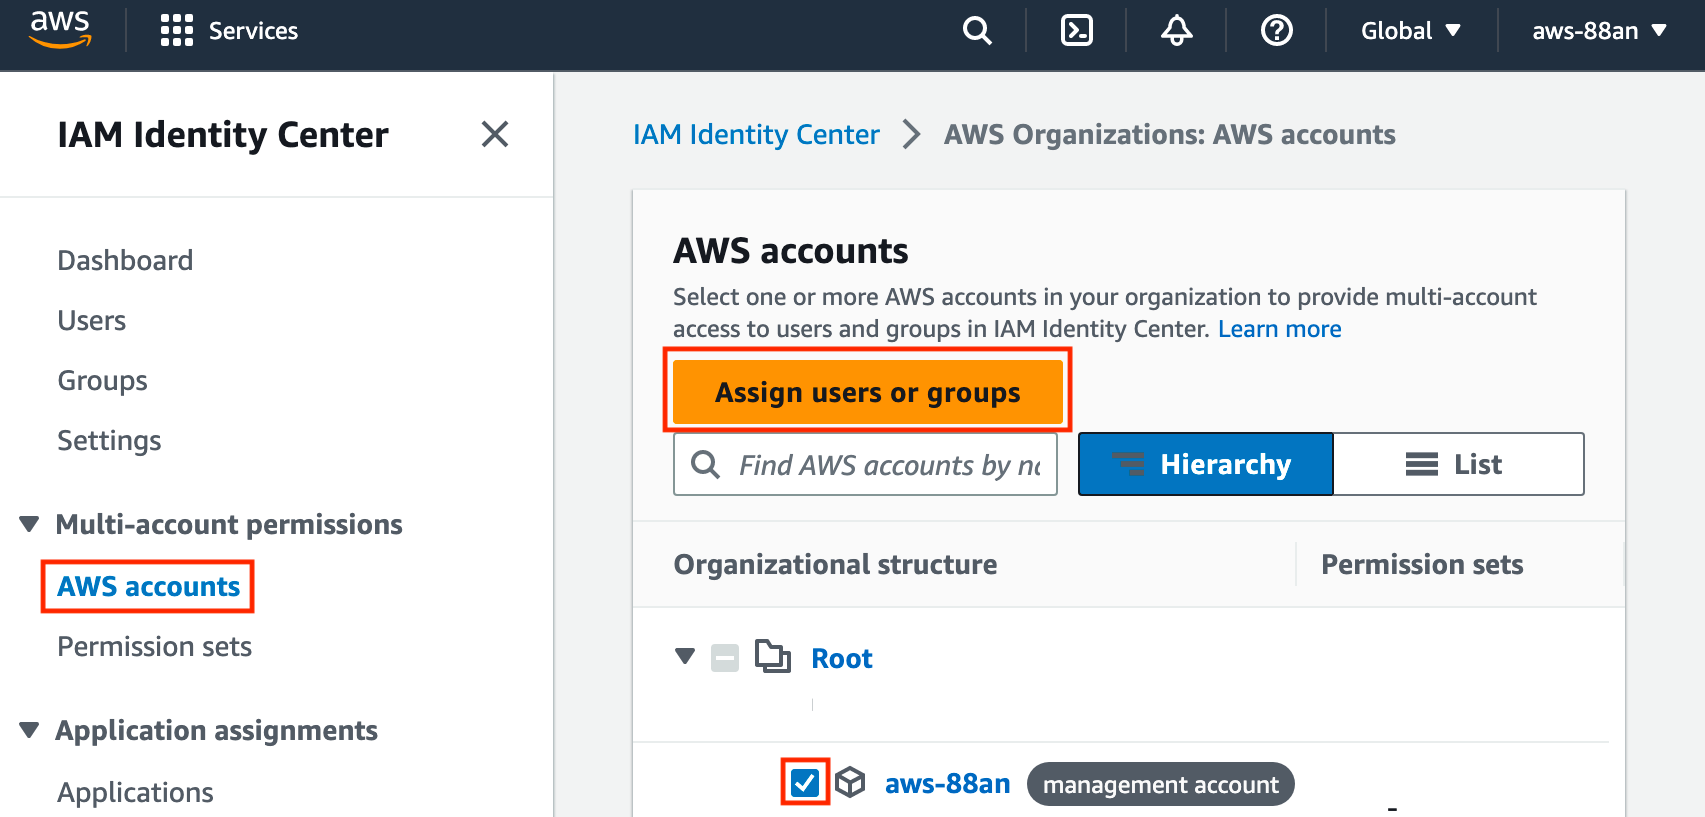
Now click Next, and then review and click Create. Finally, we can assign the permissions to the user by going to AWS accounts, checking the account(s), and then clicking Assign users or groups.
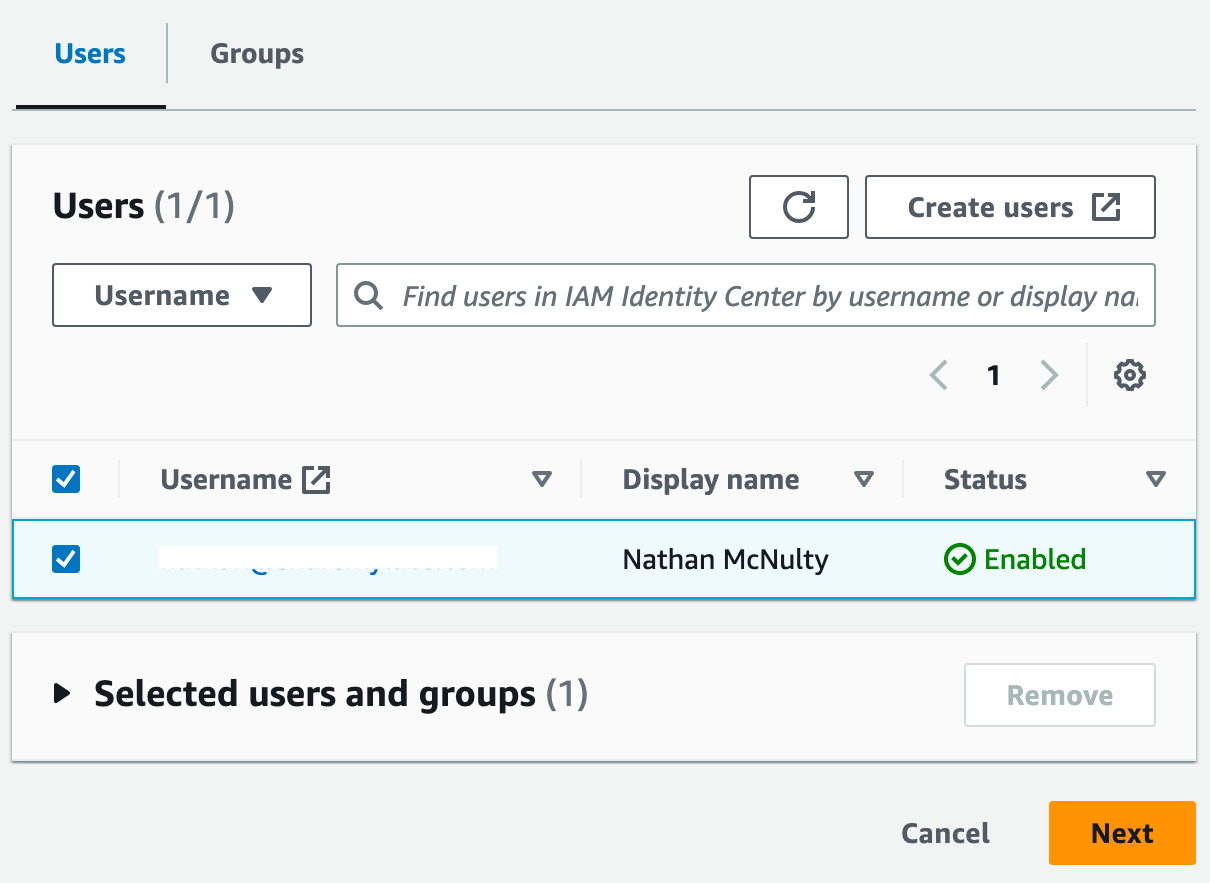
On the next page, select the user, then click Next.
On the next page, select the permissions, then click Next.

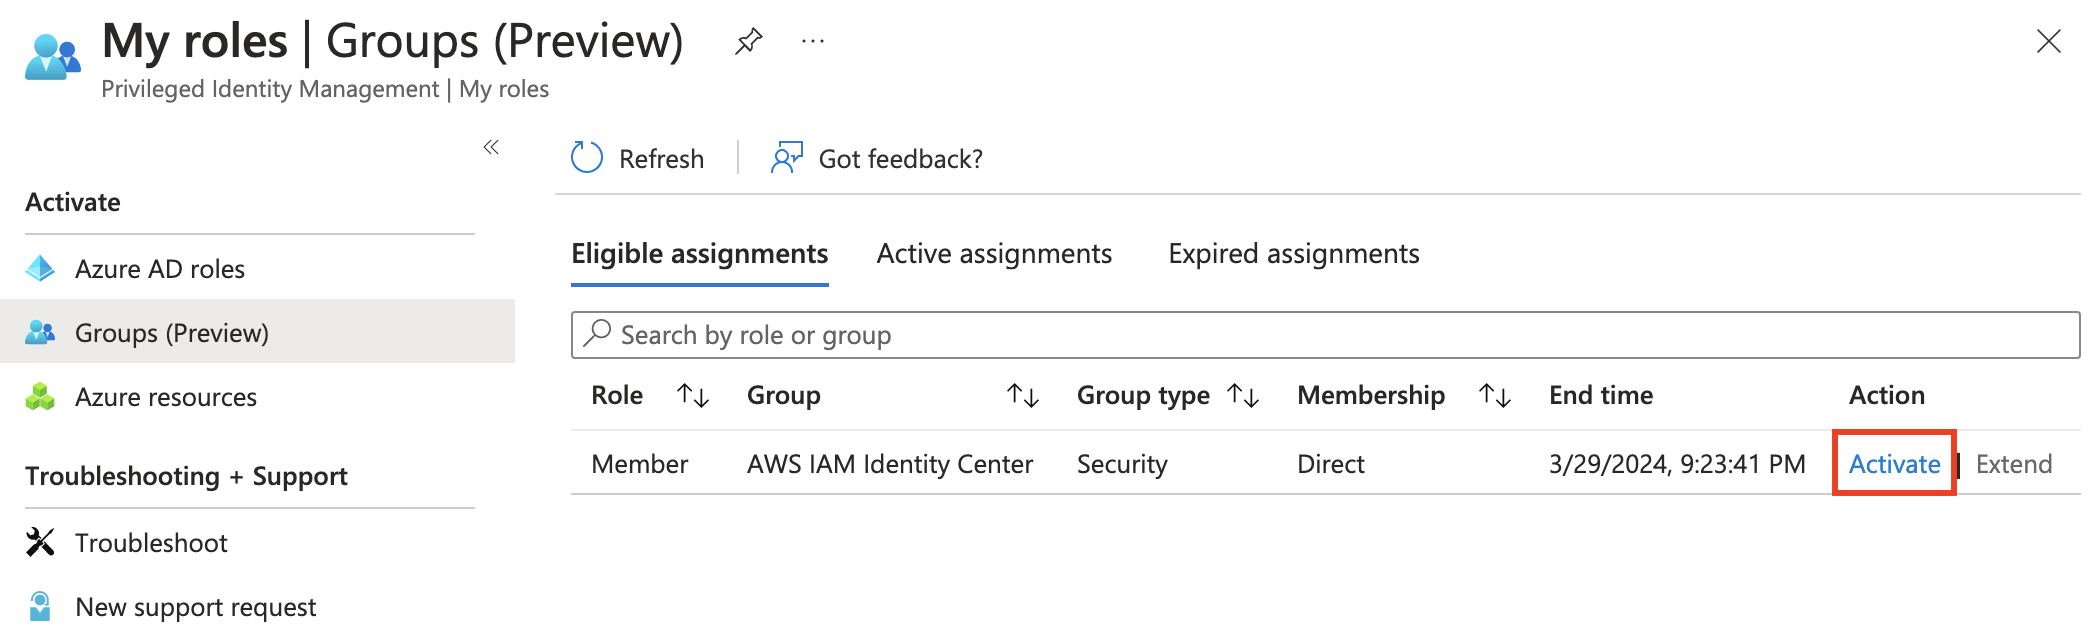
On the final page, review and click Submit. Now with the user created and permissions set, it's time to test! Head on over to https://aka.ms/pim, click Groups (Preview), and then click Activate on your group.
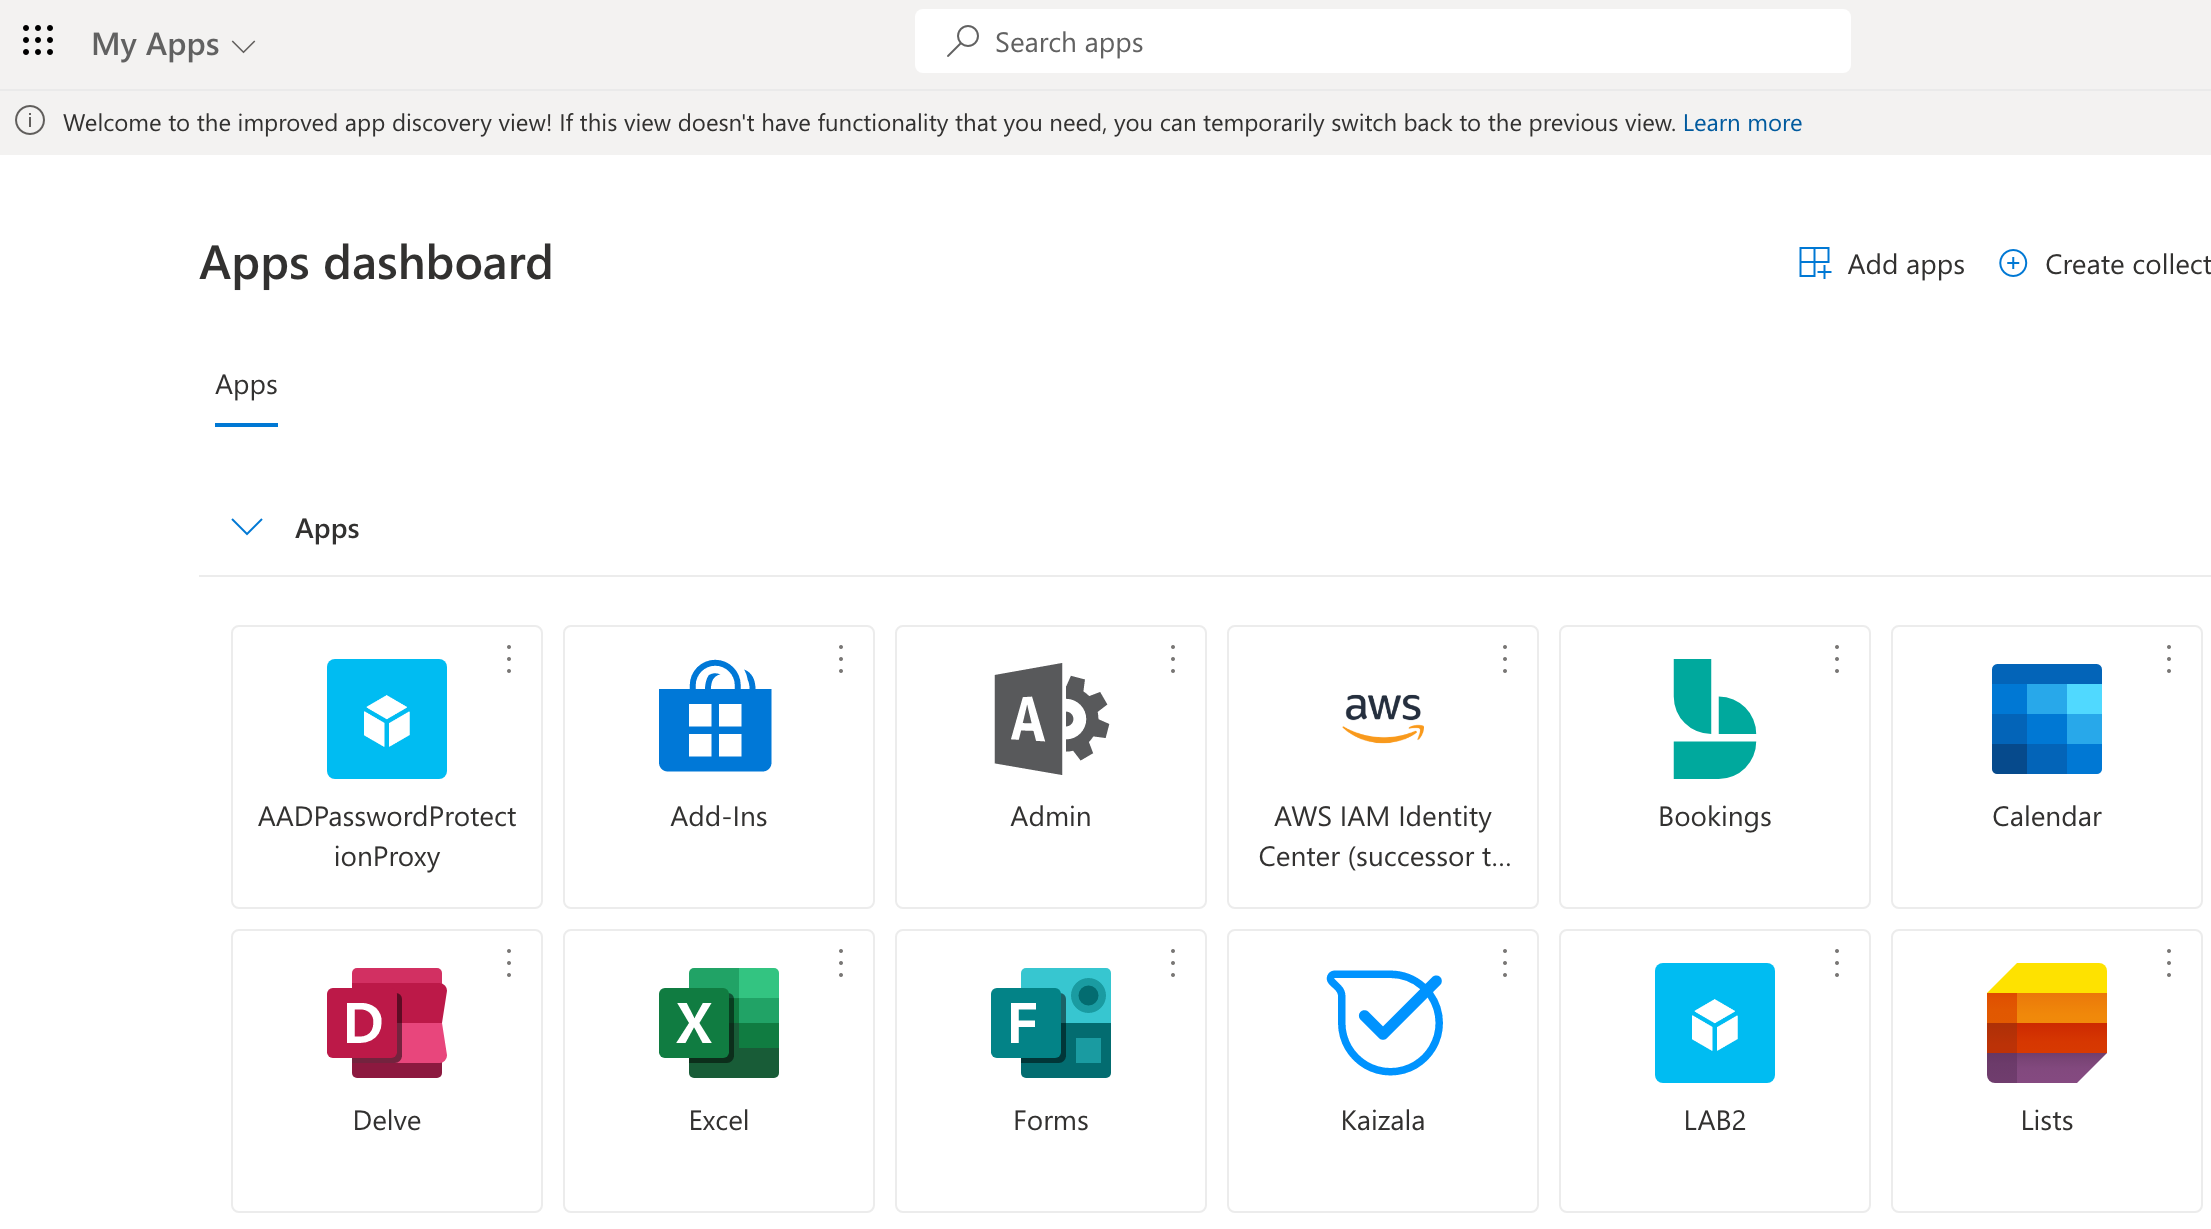
Now with our group membership activated, we can head to https://myapps.microsoft.com and click the AWS IAM Identity Center tile.
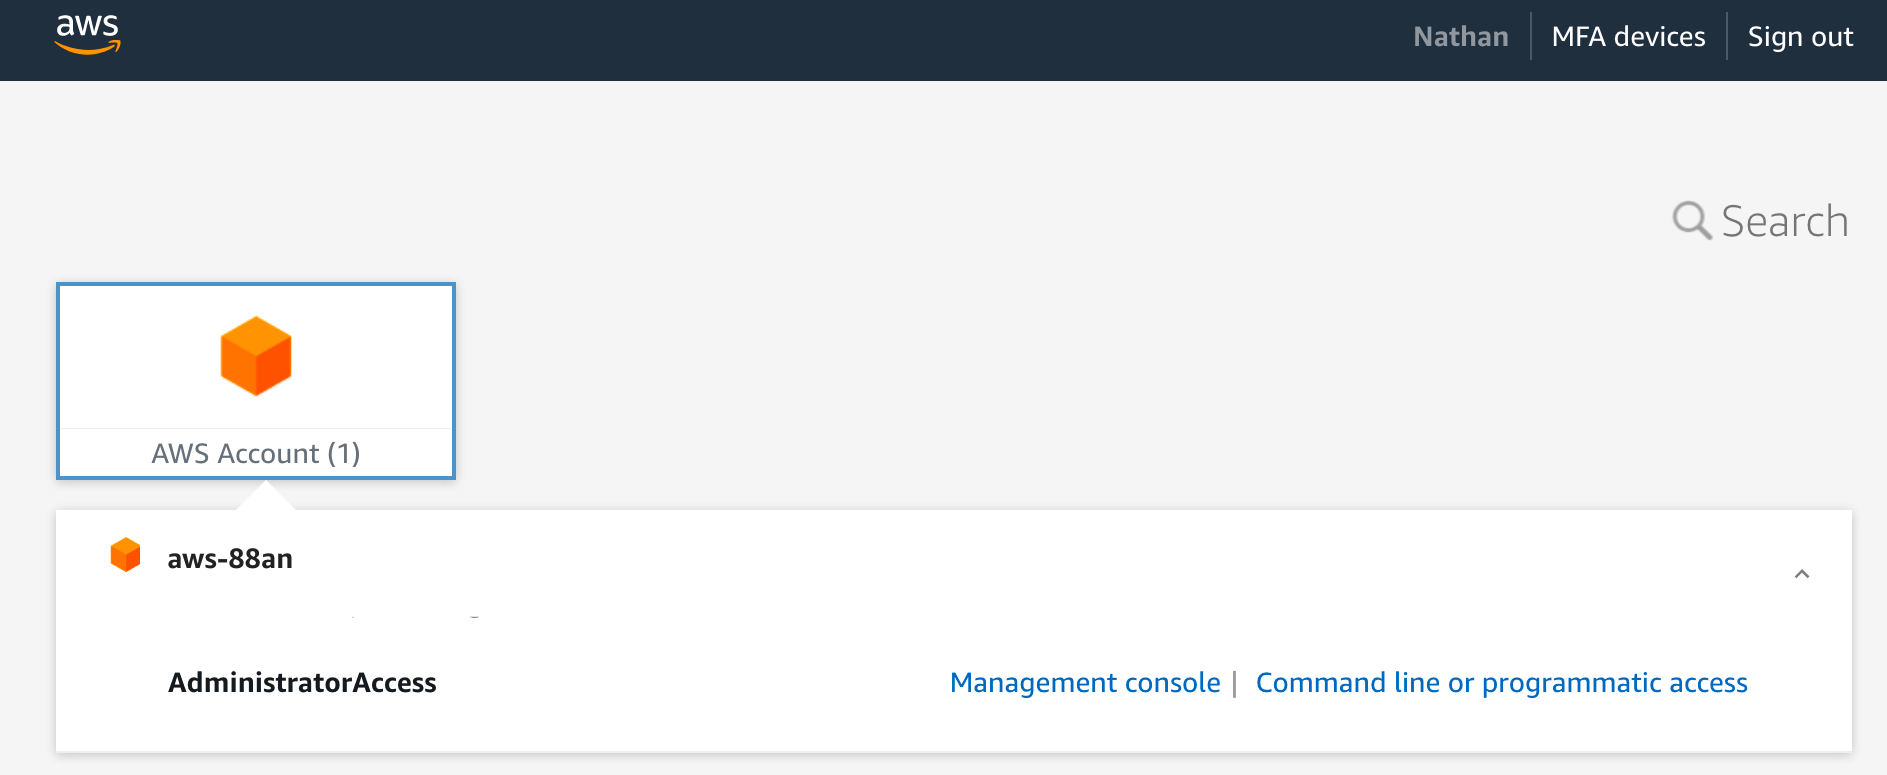
And assuming we set everything up correctly, we should have glorious success :)
Extras :)
As we were setting up Azure AD as the IdP in AWS, you may have noticed there are some other capabilities such as attribute based access control and SCIM provisioning that may be worth looking into ;)
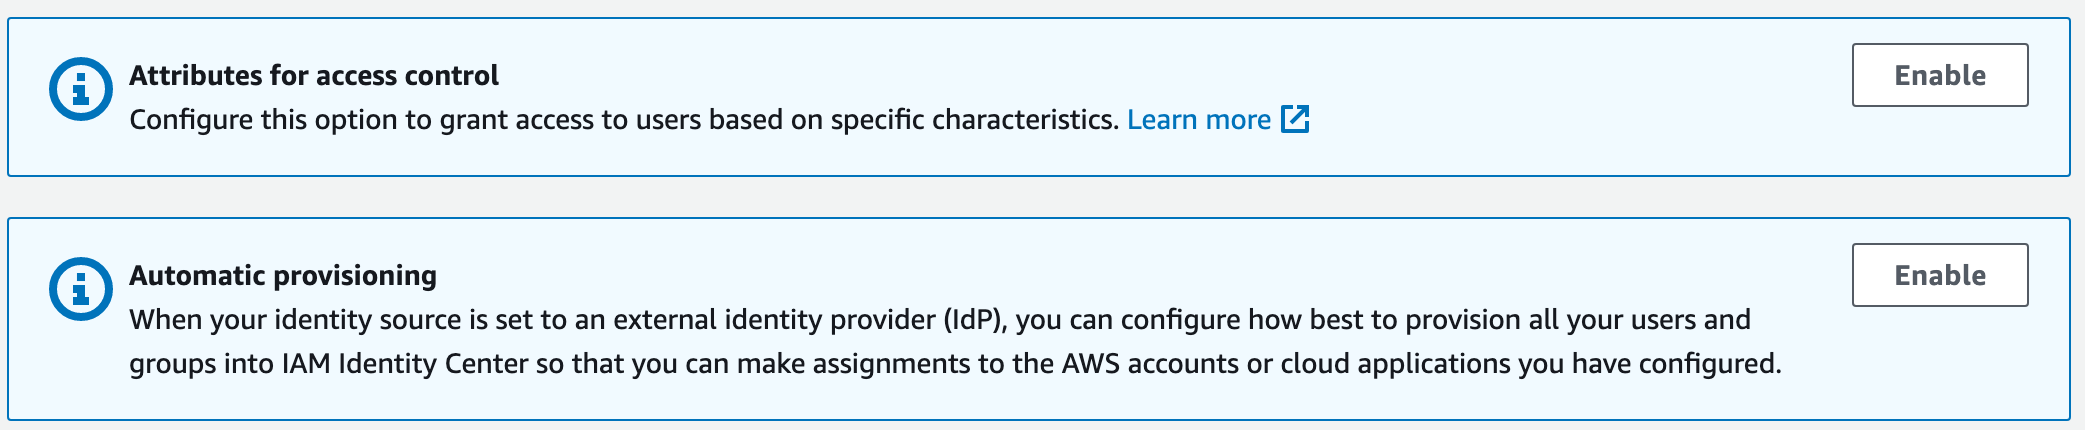
If anyone is interested, I can definitely write up a quick blog on these two capabilities as well.